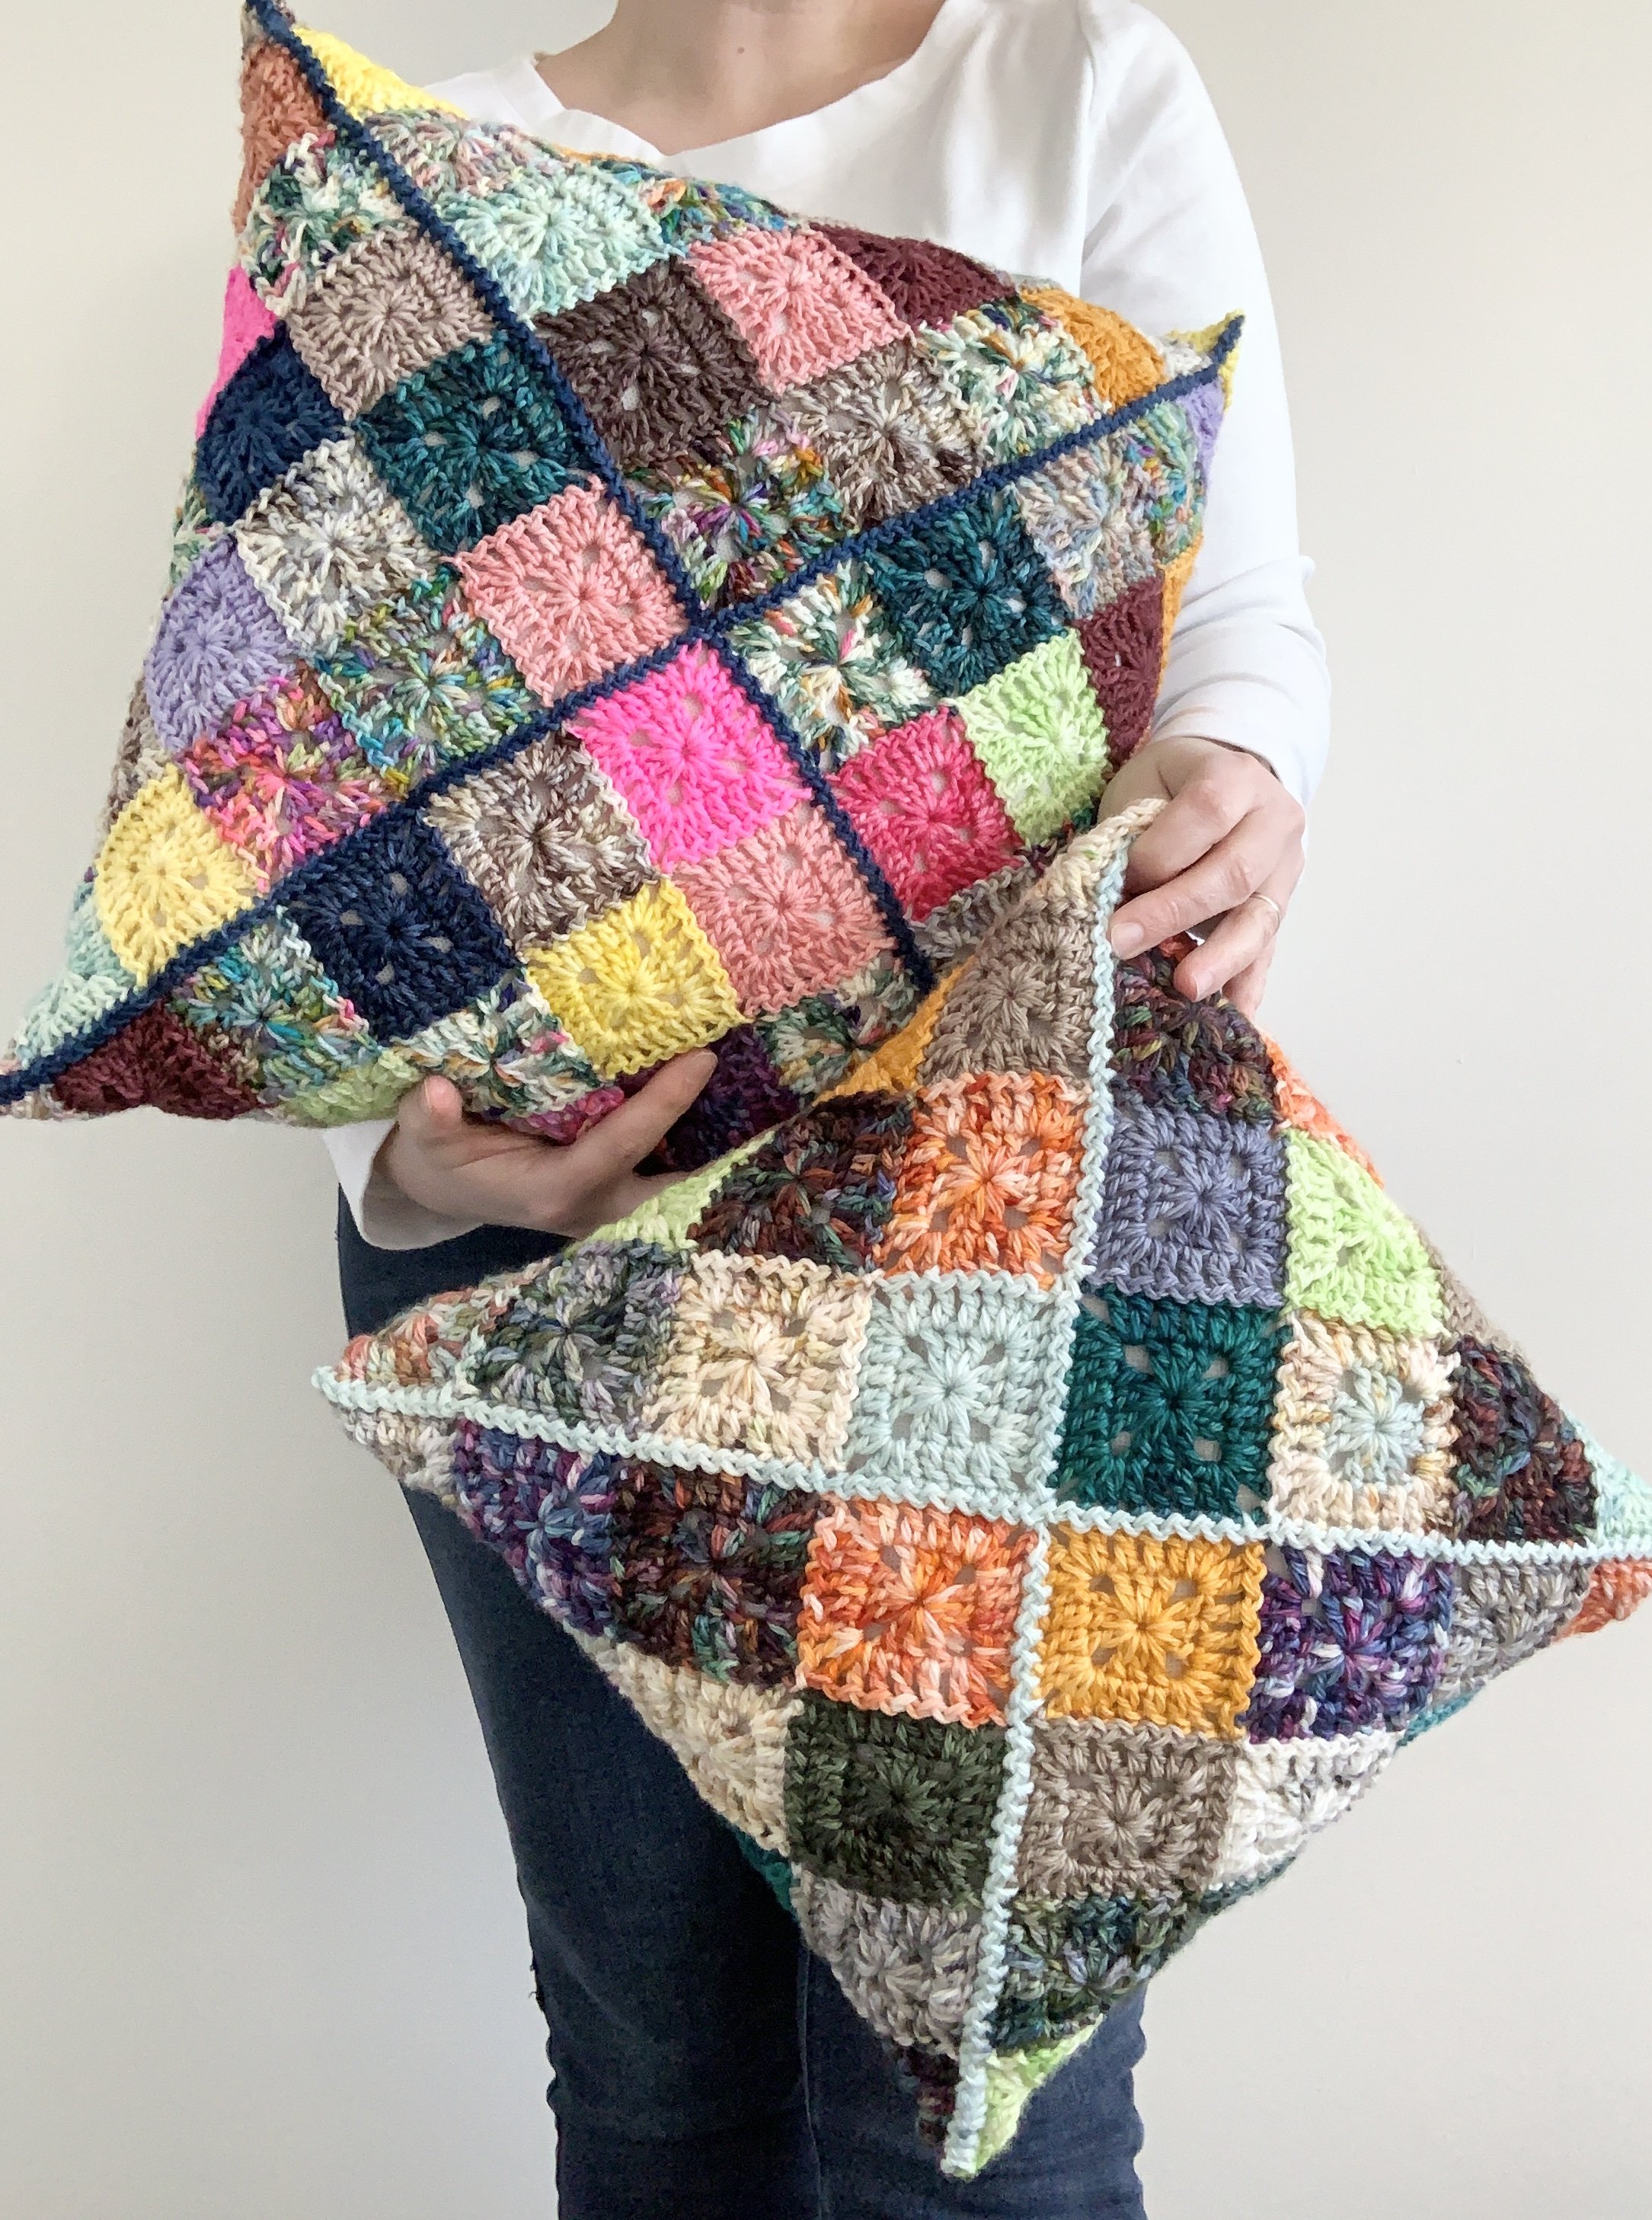
Solid Scrappy Granny Pillow (FREE PATTERN)- Worsted & DK Weight


This post contains affiliate links. Affiliate links cost you nothing, but when purchasing through these links you help me earn a small commission. This supports me and my family and my continued efforts to bring you free patterns.
Intro:
We all have them…they add up pretty fast….and yet, what to do with them all? You know what I’m talking about—scraps. Scraps and those random skeins you just “had to have” but had no real purpose for. Well, I’ve just the thing!! The Solid Scrappy Granny Pillow is just as fun to make, as it is to look at. The combinations are endless- use up all those tiny scraps OR plan a gorgeous pillow with skeins from your stash. Mix them up randomly, or plan a “plaid like” looking pillow. Tonal, variegated, self striping-you name it! It all works with this pillow and I absolutely cannot wait to see all your creativity on this one.
L, M
ps. If you want the ad-free, printable PDF of the pattern you can grab one in my Ravelry or Etsy Pattern Shops:
Notions
US 5.00 mm (size H) crochet hook
Needle for weaving in ends
Scissors
Washable Pillow Form in sizes 14”, 16”, 18” or 20”
Yarn (Worsted Weight)
Ravenswood Fibre Co. Worsted 100% SW Merino (181yds/100g):
Scraps approx. 256g (324g, 400g, 484g)
OR approx. 464yds (486yds, 724yds, 876yds)
Yarn (DK Weight)
Merino Yarn Scraps in DK weight ranging from (231yds-246yds/100g):
Scraps approx. 186g (230g, 278g, 331g)
OR approx. 457yds (566yds, 684yds, 814yds)
Gauge (Worsted Weight)
2 rnd square= 2.25” across (unblocked)
Approximately 4g each
Gauge (DK Weight)
2 rnd square= 2” across (unblocked)
Approximately 2g each
Finished Size
14”, 16”, 18” or 20” Pillow
Glossary (using US Crochet Terminology)
st(s)- stitch(es)
ch- chain
ch-sp- chain space
sl st- slip stitch
YO- yarn over
SC- single crochet
DC- double crochet
JAYG- join as you go
RS- right side
WS- wrong side
Pattern Notes
Gauge will affect yarn quantities, please adjust hook size to meet gauge.
Ch 2 counts as DC throughout.
In some cases, the video tutorials have been used for other patterns. Please follow the yarn recommendations, hook size and stitch counts in the written pattern- the videos are only meant as visual guides.
All pillow panels are 4” bigger than the intended pillow size. If you wish to make a larger pillow (ex. 22” pillow), just make the pillow panel 4” larger.
There is a wide range of DK weight yarns out there so yarn quantities are estimations only. Please be aware that the size of the squares is what matters most. Gauge is listed above as 2” per square. If squares aren’t measuring 2” across—adjust the hook size. Otherwise, you’ll end up with a panel that is either too big, or too small.
Please note that the worsted weight yarn I chose is on the heavier side and will work up closer to an acrylic yarn in size (rather than the typical hand dyed 218yds/100g merinos).
Pillow panels are constructed using JAYG, where each square is completed while joining to the previous square. If you choose to join your blanket a different way-please note yarn quantities will differ (you’ll need more).
Don’t forget to share your makes on Instagram and Facebook! I always love seeing what you have all worked up. Tag me on Instagram @nautikrallcrochet or Facebook @nautikrall_crochet, or use the hashtag: #solidscrappygrannypillow
Schematic (Worsted Weight)
Schematic (DK weight)
Pattern Solid Granny Square:
Round 1
Ch 4, sl st into 4th ch to form ring.
Ch 2, 2 DC into centre ring, ch 2.
[3 DC into centre ring, ch 2], 3 times.
Join rnd with sl st into top of first DC (not the ch 2).
Do not fasten off.
**Only Complete the following Round 2 IF you do not plan on using the JAYG to join the squares. Round 2 is written out for anyone who wishes to seam their squares together separately at the end of their project.
Round 2
Ch 2, DC into same st.
*DC into each st across, [2 DC, ch 2, 2 DC] into corner sp.*
Repeat from * to * 3 times.
DC into each remaining st of rnd, join with sl st into the top of the first DC (not the ch 2).
Fasten off.
***Please see the YouTube video tutorial below on how to make the Solid Granny Square (Note: the following tutorial is for a 4 round solid square; the pillow only uses a 2-round square, but the method is the exact same):
Assembling Pillow Panel (JAYG):
Only the very first square of the pillow panel is worked by completing all 2 rnds.
Each square afterwards uses the 2nd rnd of the granny square to JAYG to the previous square of the panel.
Work across the row from top-right to top-left before starting the row below (this helps keep the seaming and squares look consistent).
***Please see the YouTube video tutorial below on how to JAYG the Solid Squares to form Pillow Panel (Note: the following tutorial is for a 4 round solid square; the pillow only uses a 2-round square, but the method is the exact same):
Assembling Finished Pillow Cover:
Place pillow panel flat with WS up.
Fold corners of pillow panel towards the centre; seam together using zig zag sl st.
On the final seam, remember to leave enough room (about 5-6”) to stuff your pillow into the cover before seaming shut.
Fasten off, weave in all ends.
***Please see the YouTube video tutorial below on how seam the Pillow Panel together: “How to zig-zag slip stitch a pillow panel together”
~The End~
The pattern, the photographs and video tutorials in this document are the property of Nautikrall Crochet. You may sell items you make from this pattern; but may not sell, reproduce, or distribute this pattern, in whole or in part, as your own.
Copyright © 2022 Nautikrall Crochet – All rights reserved.


