NautiKrall Crochet x Hue Loco Succulents 2025 Blanket CAL










This post contains affiliate links. Affiliate links cost you nothing, but when purchasing through these links you help me earn a small commission. This supports me and my family and my continued efforts to bring you free patterns.
Intro.
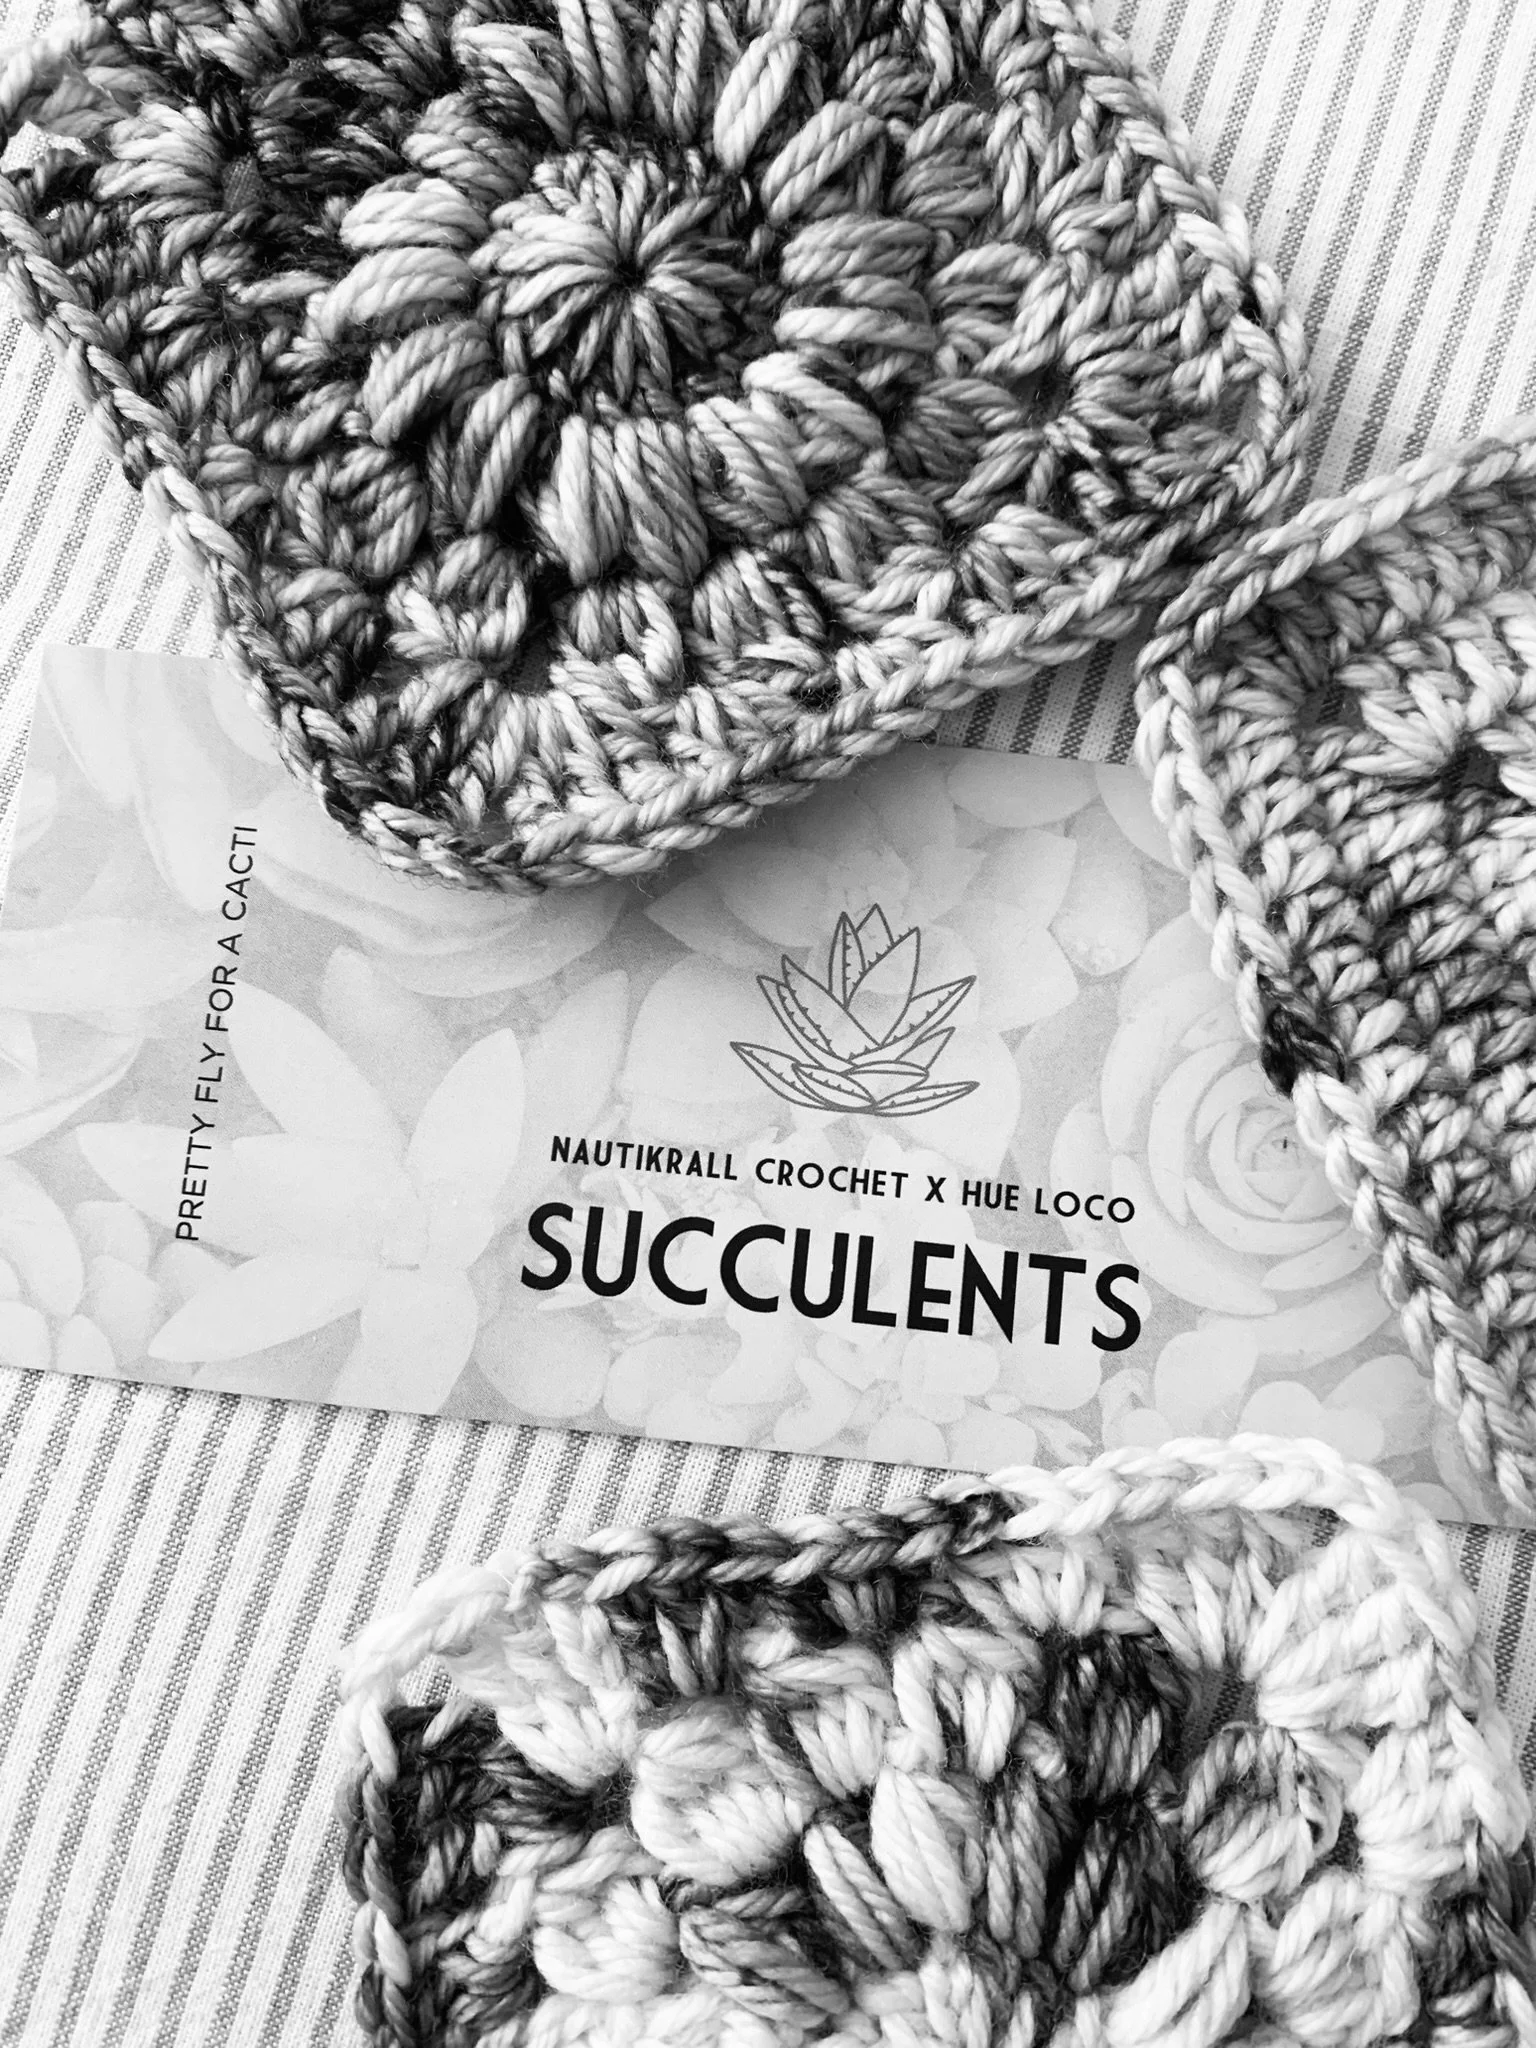
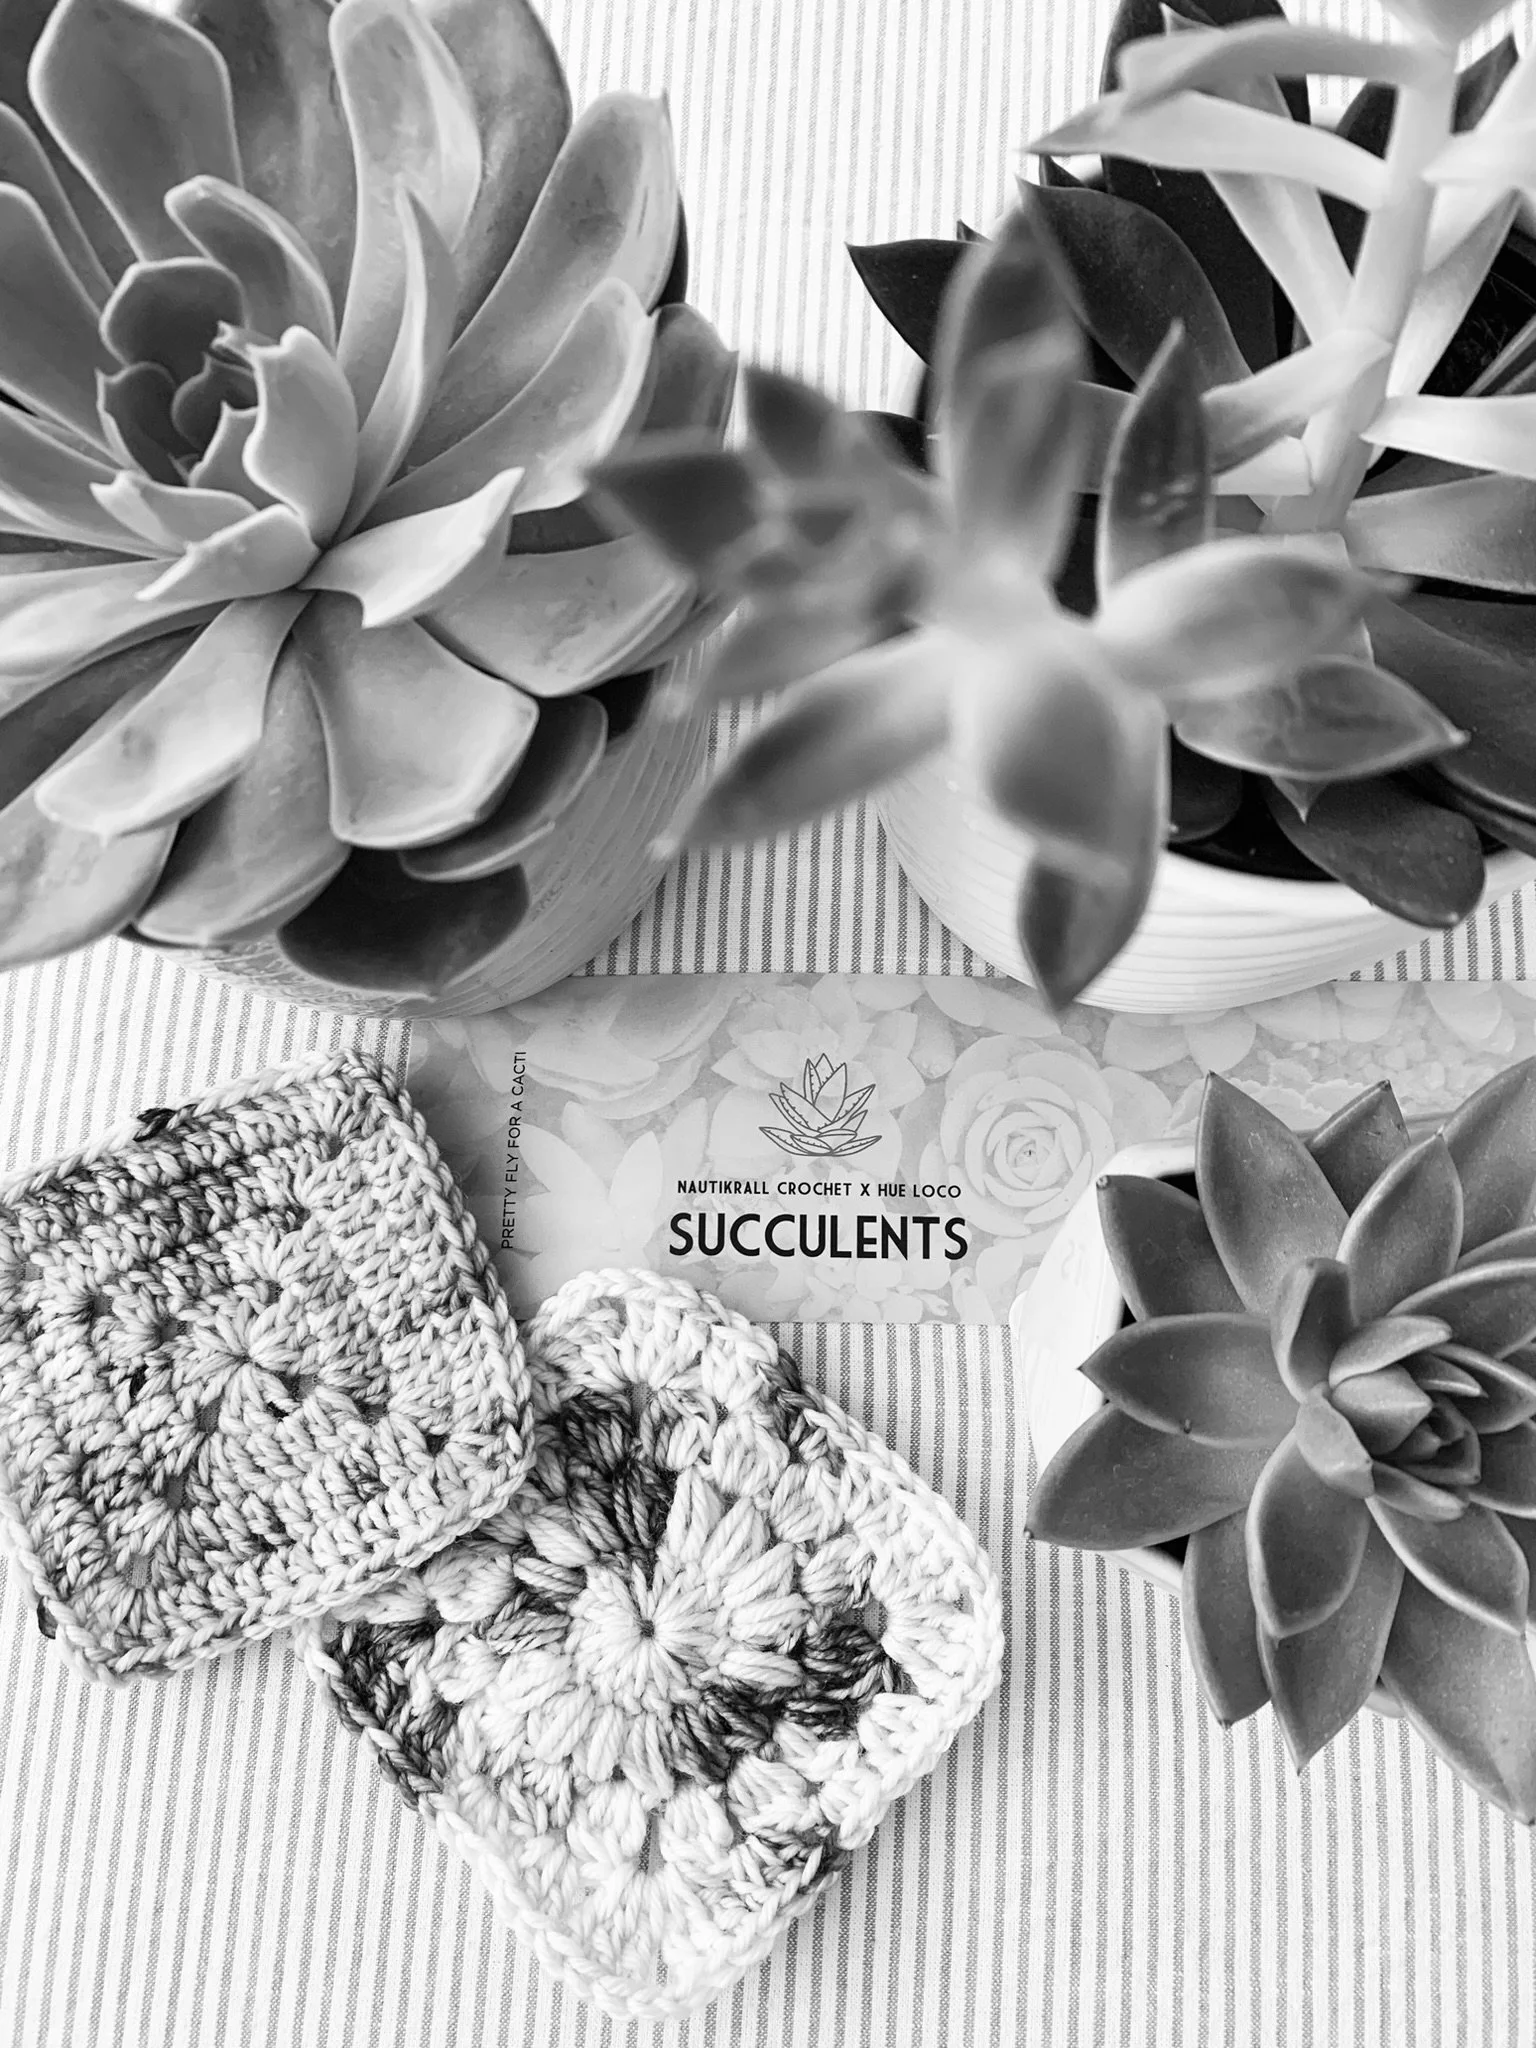
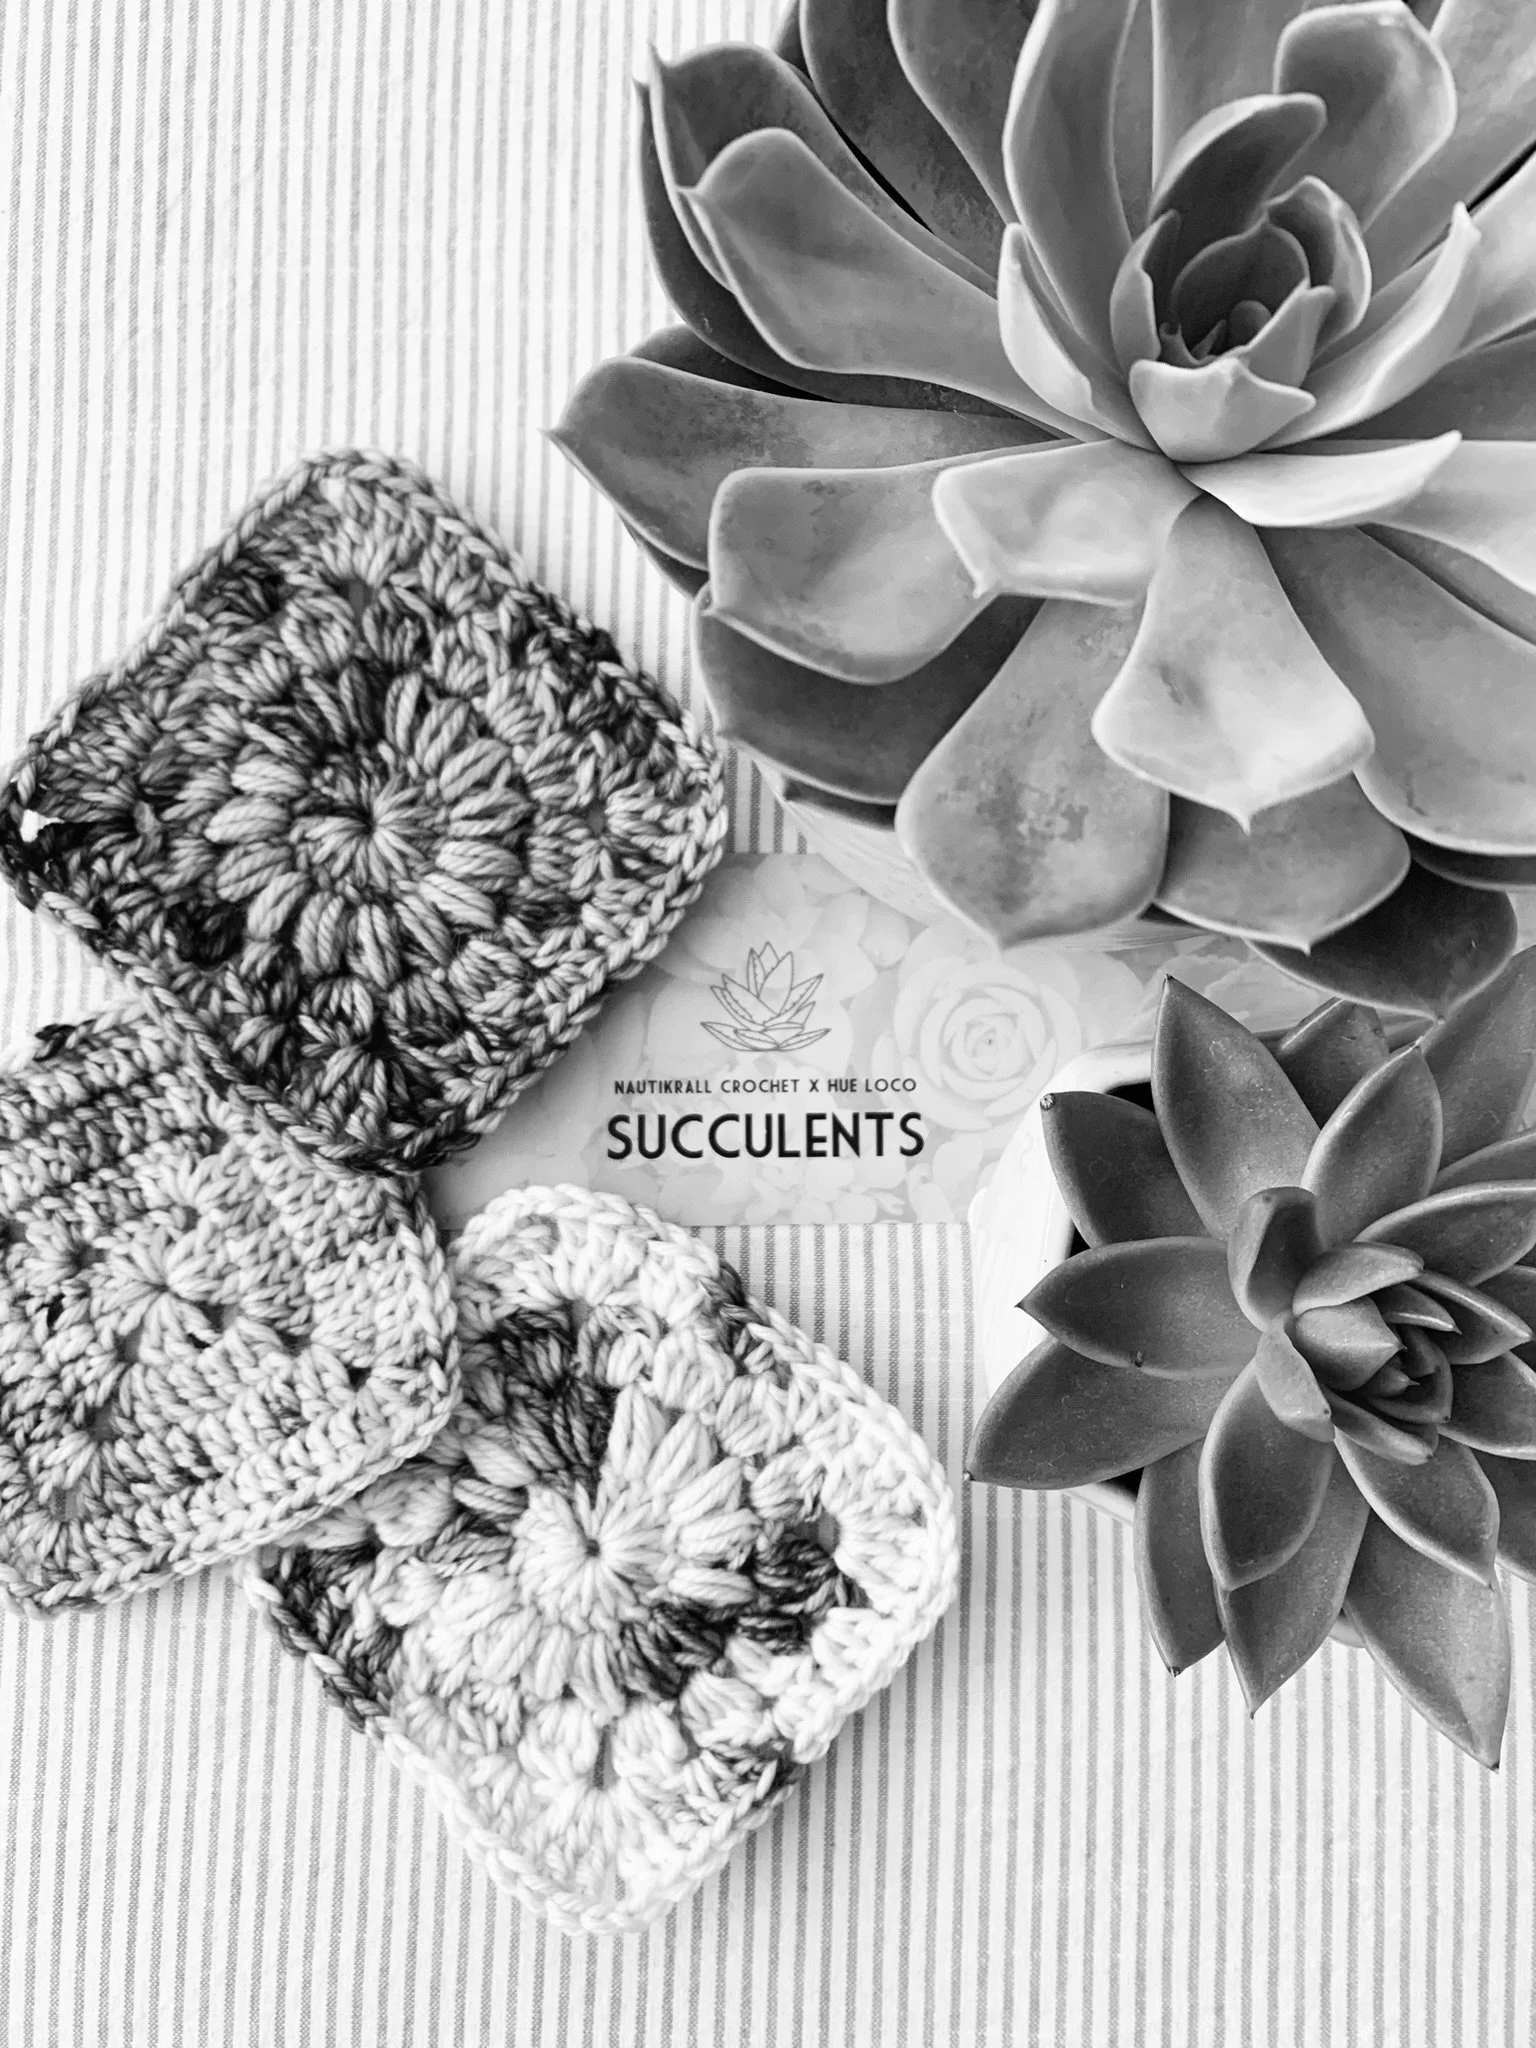
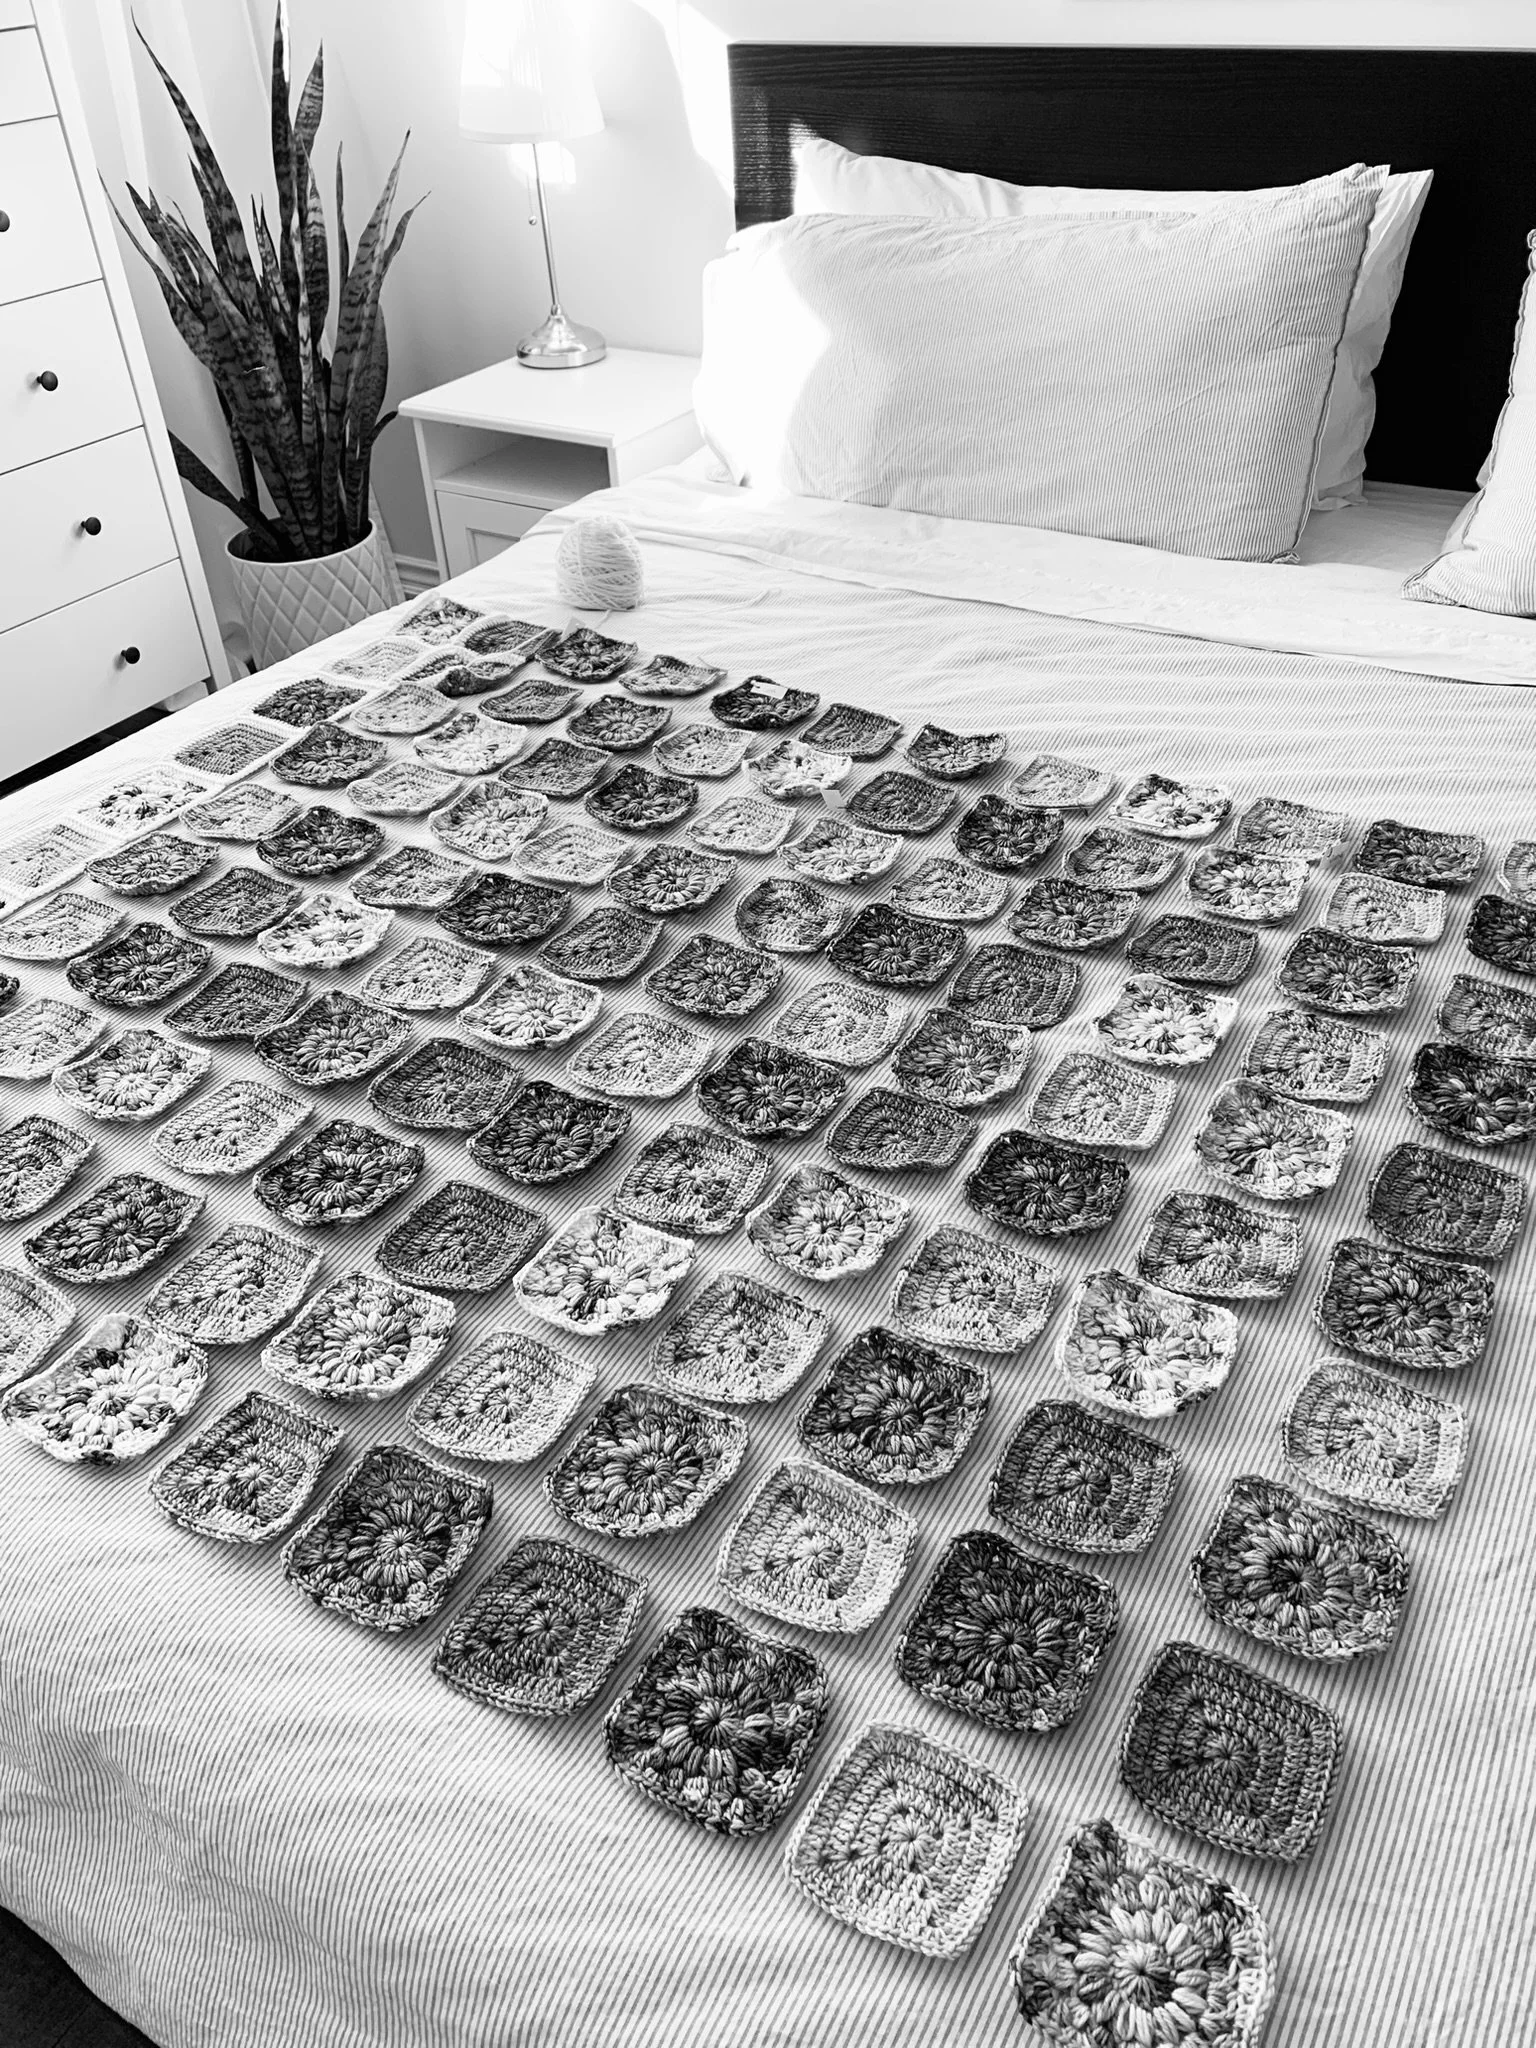
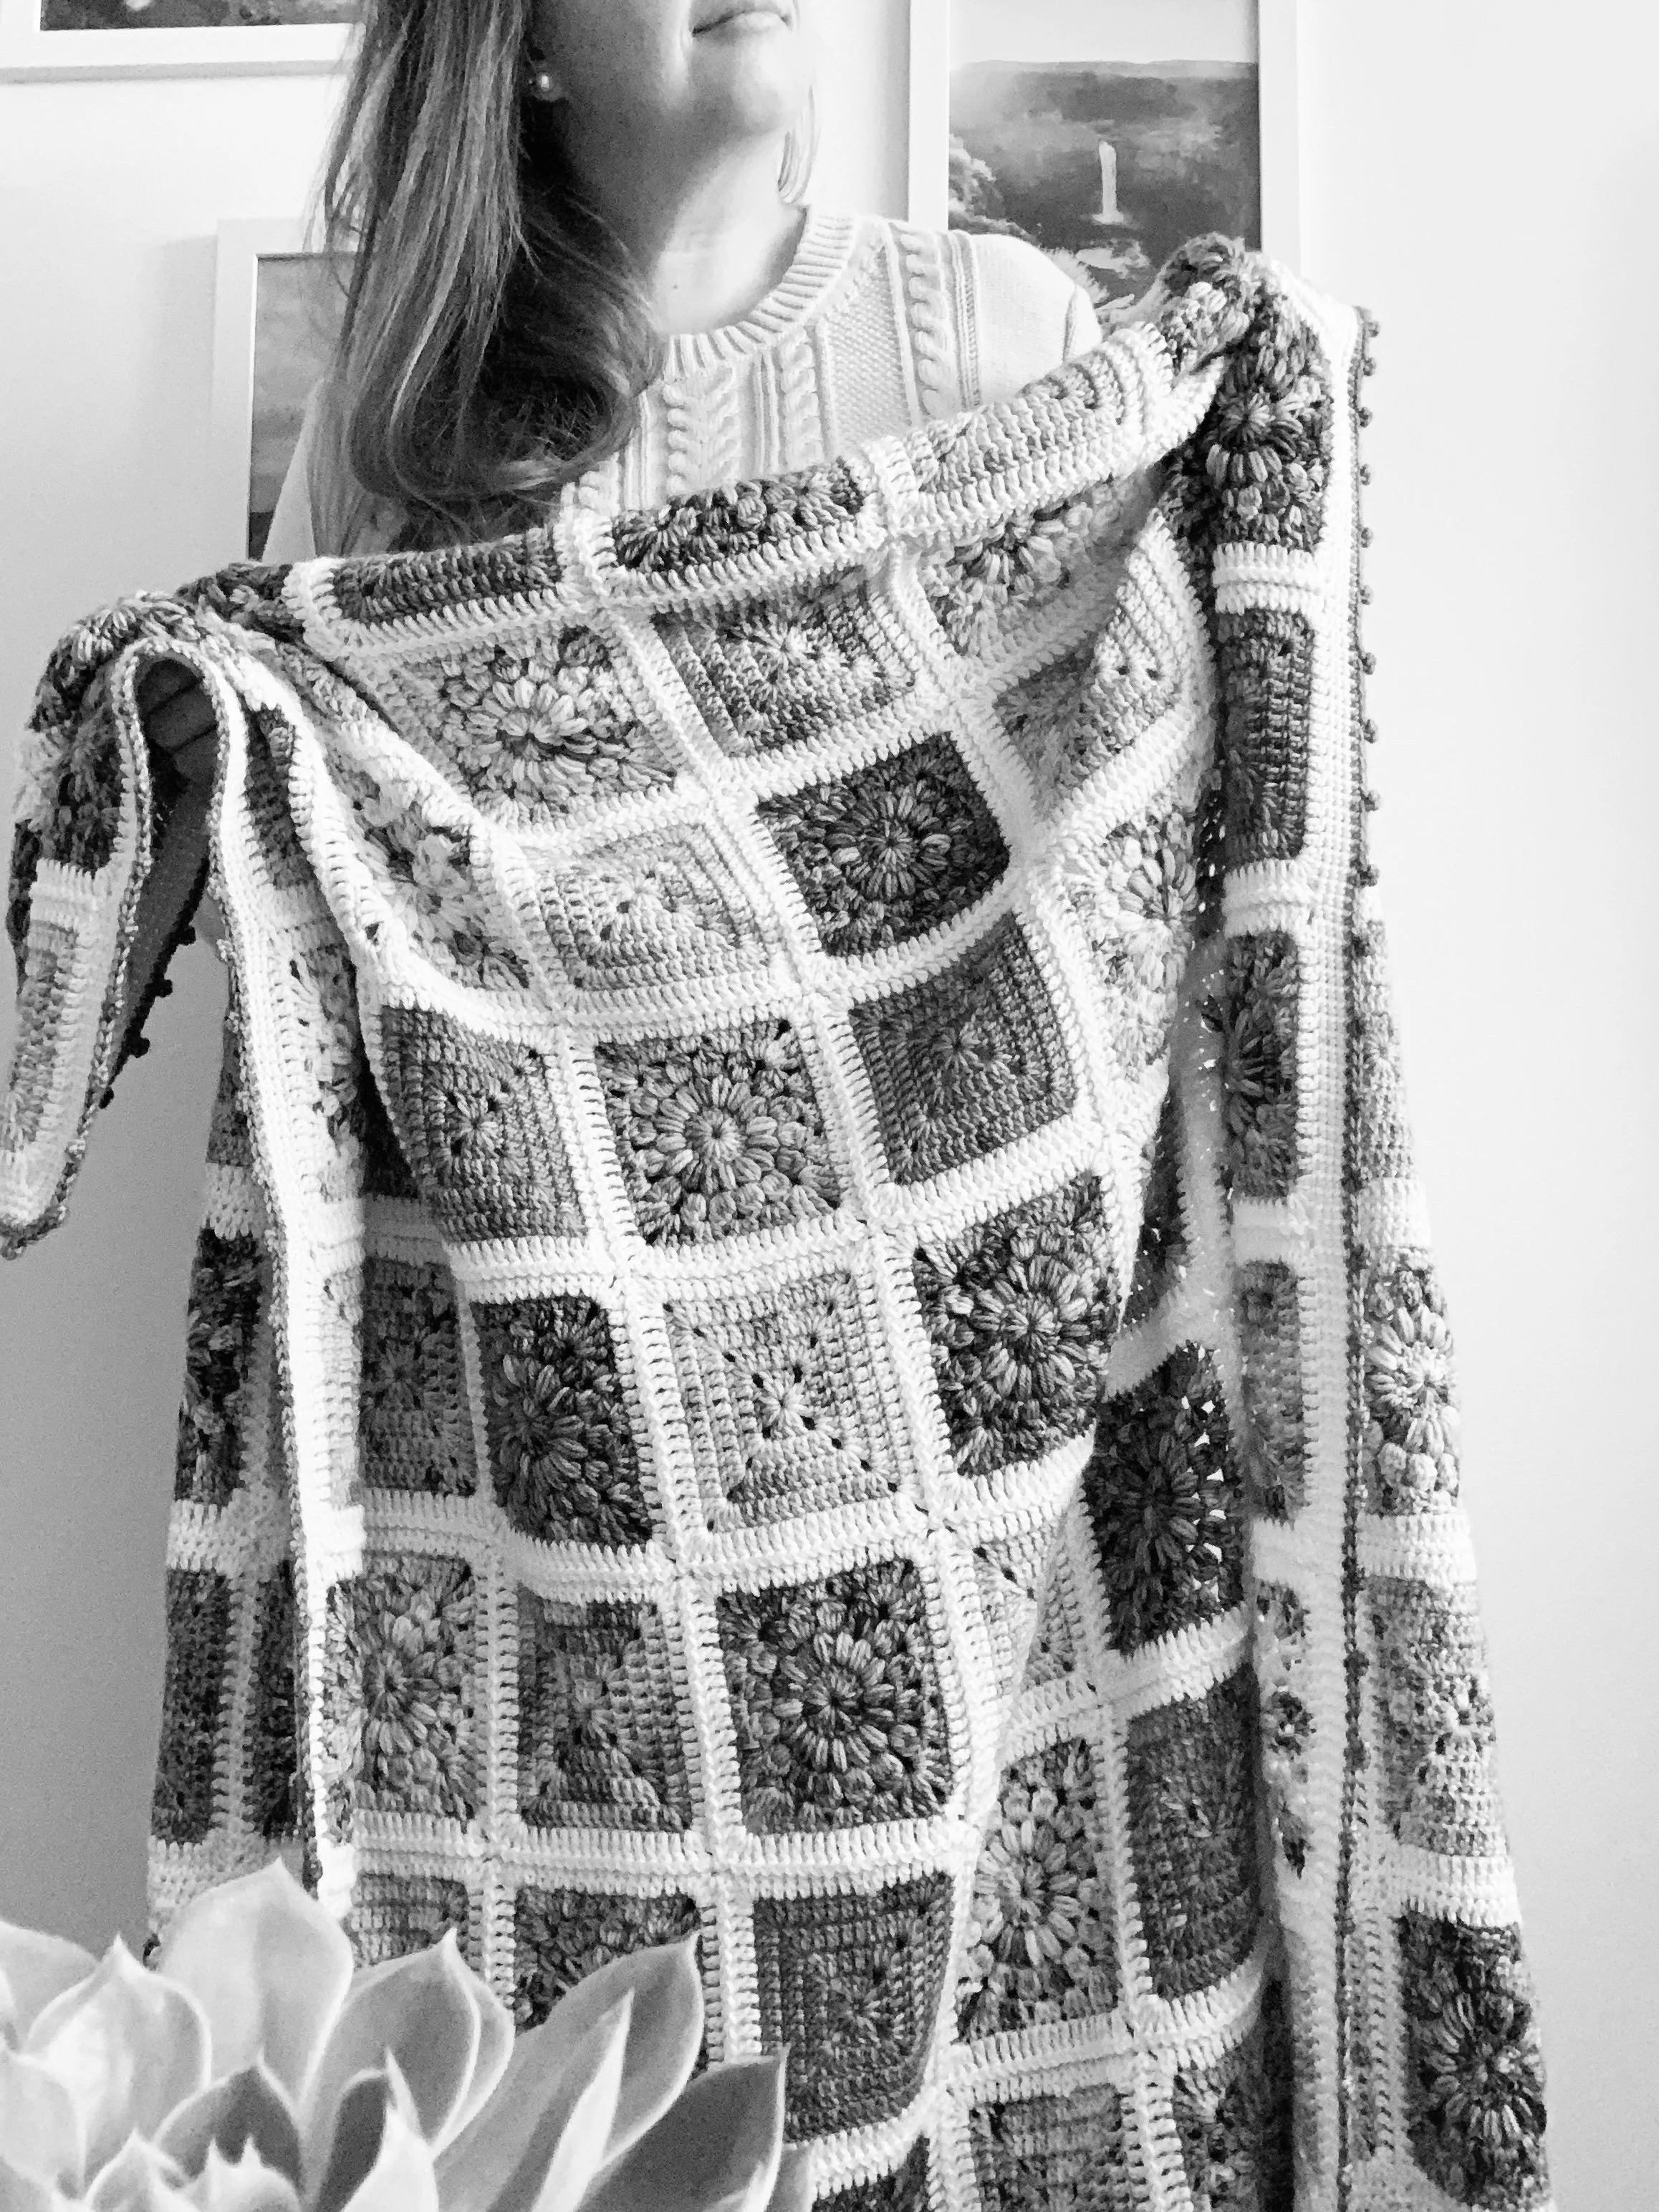
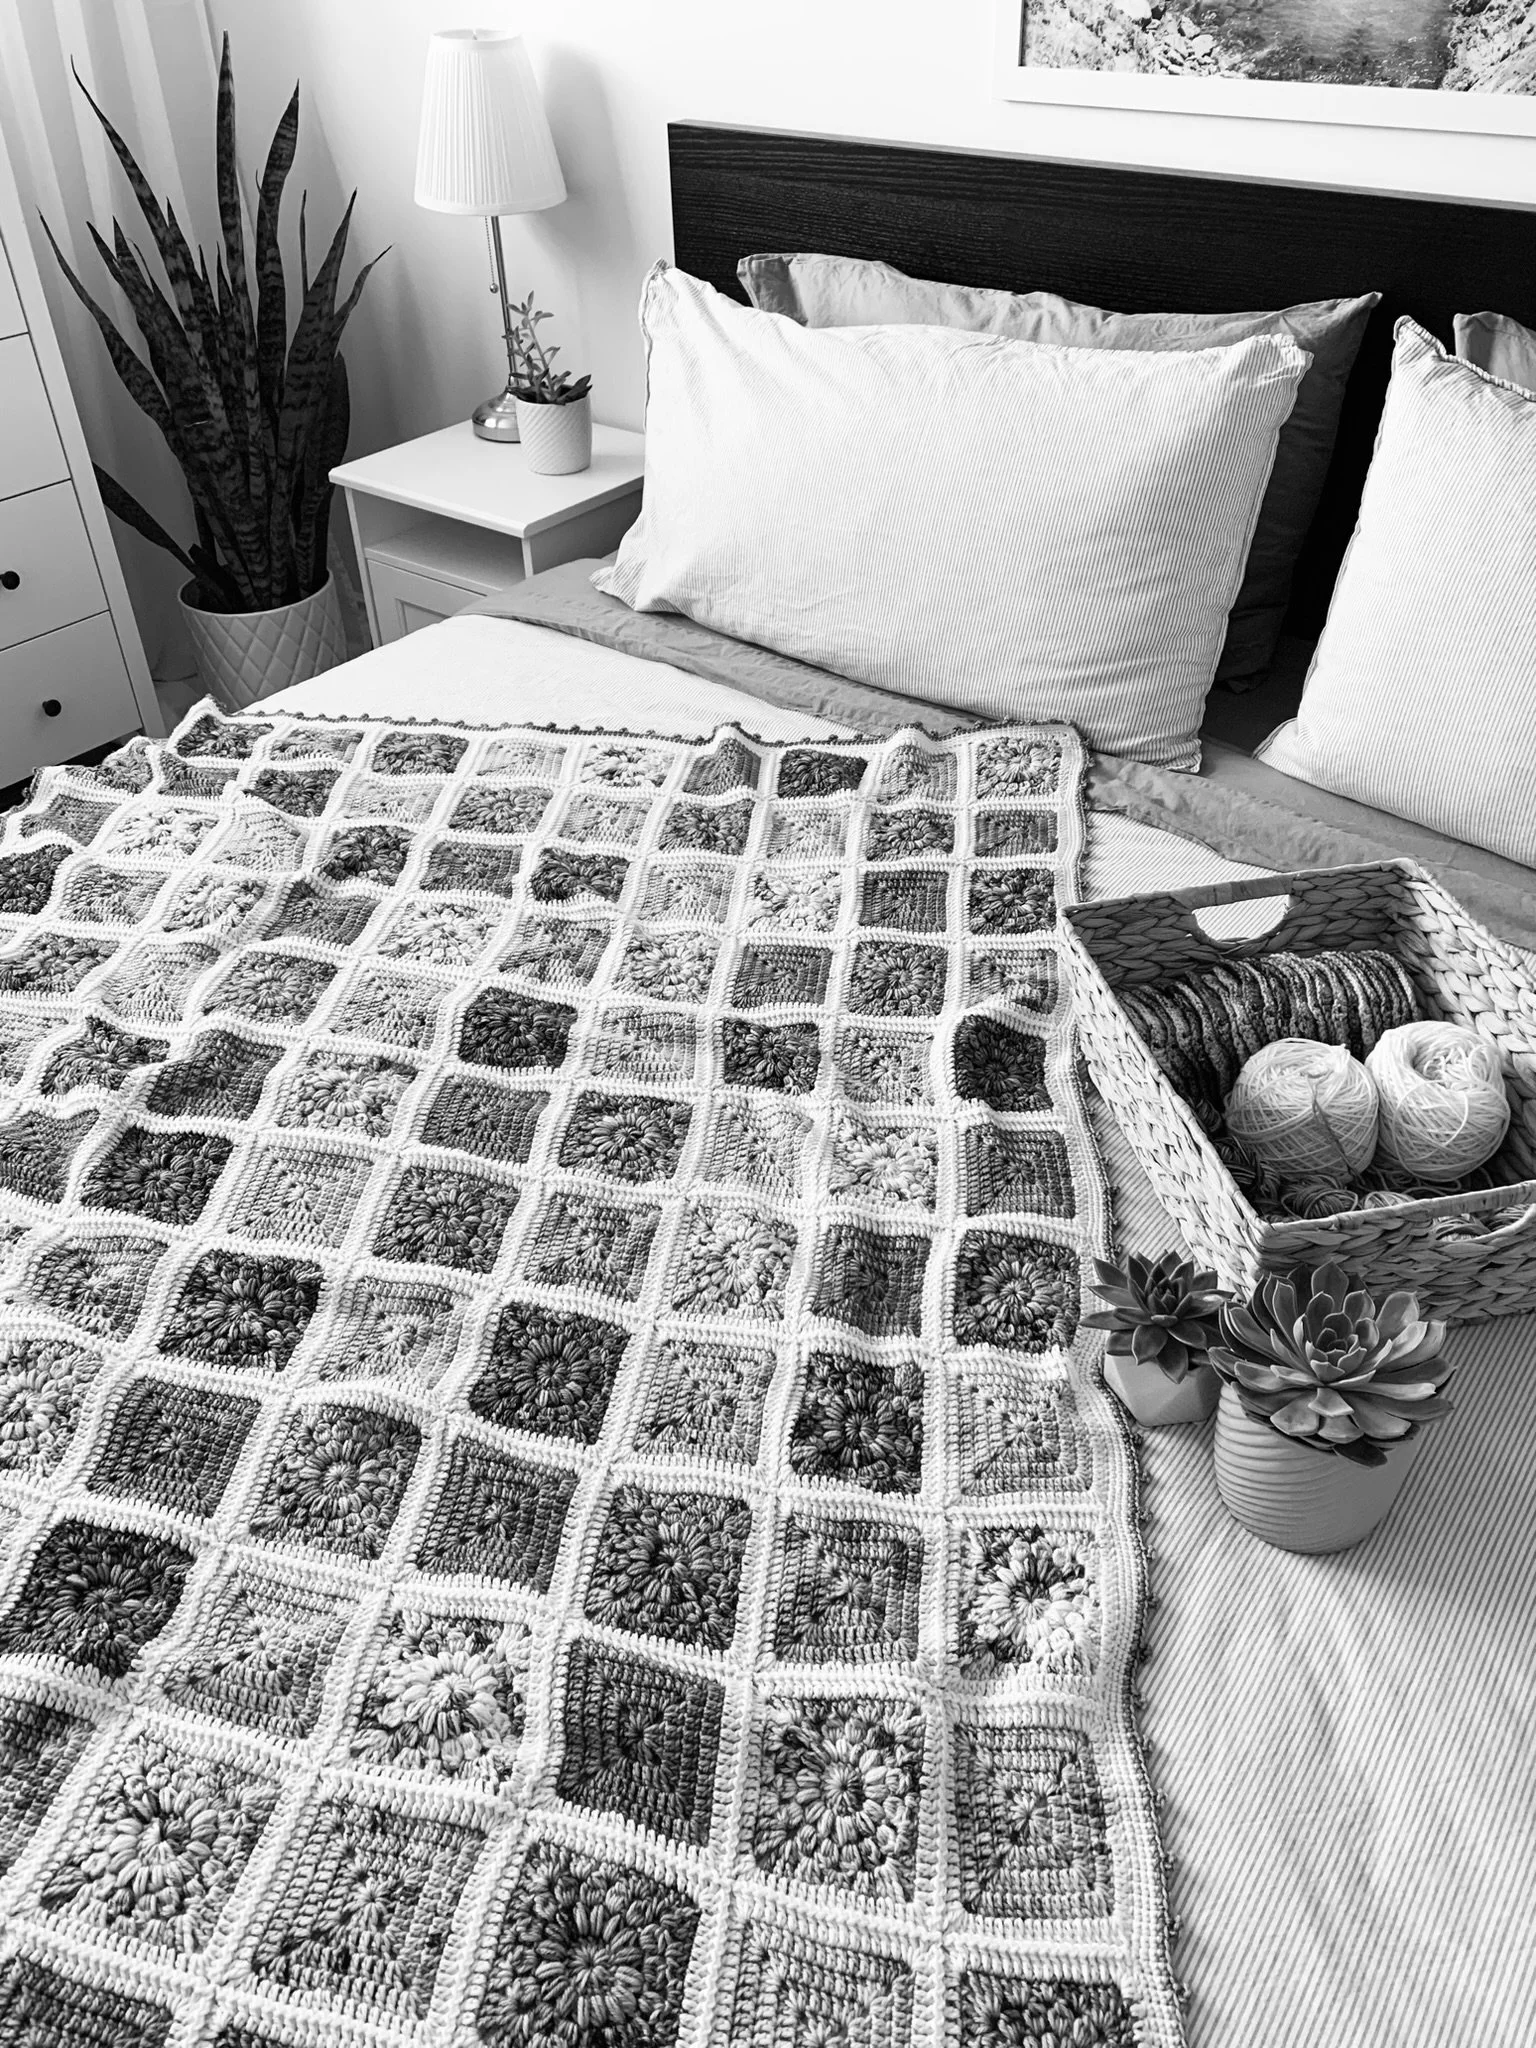
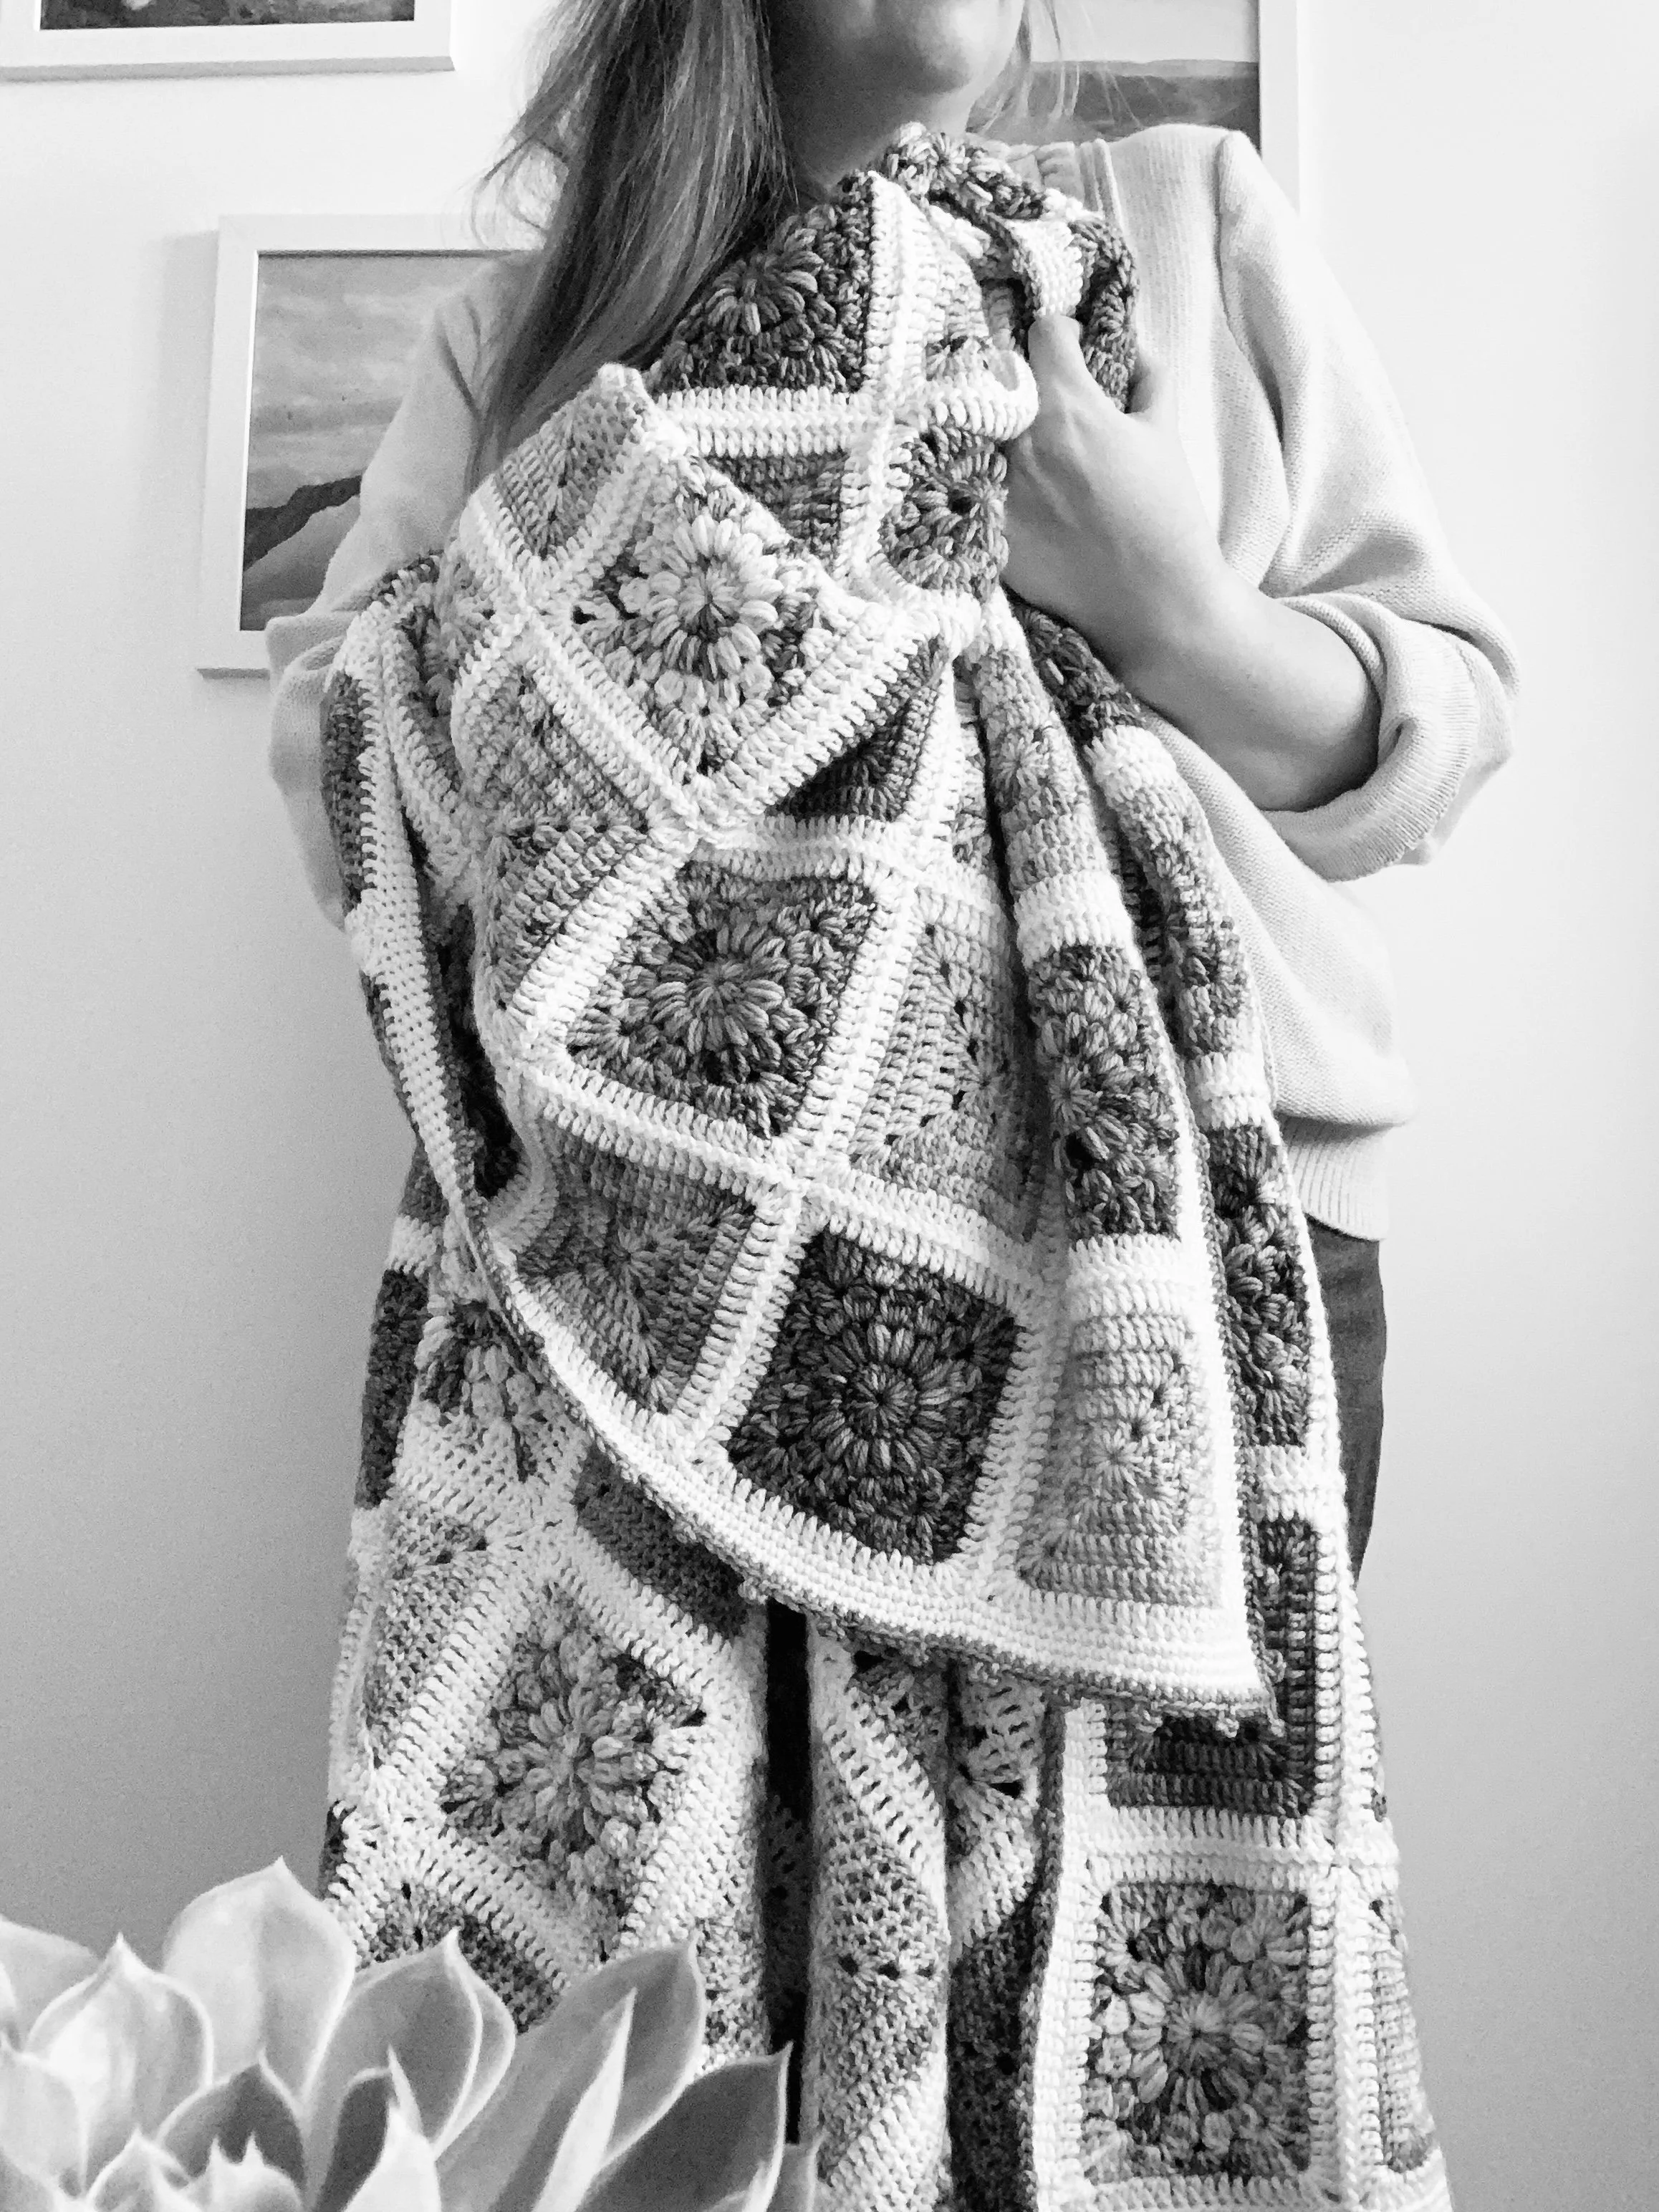
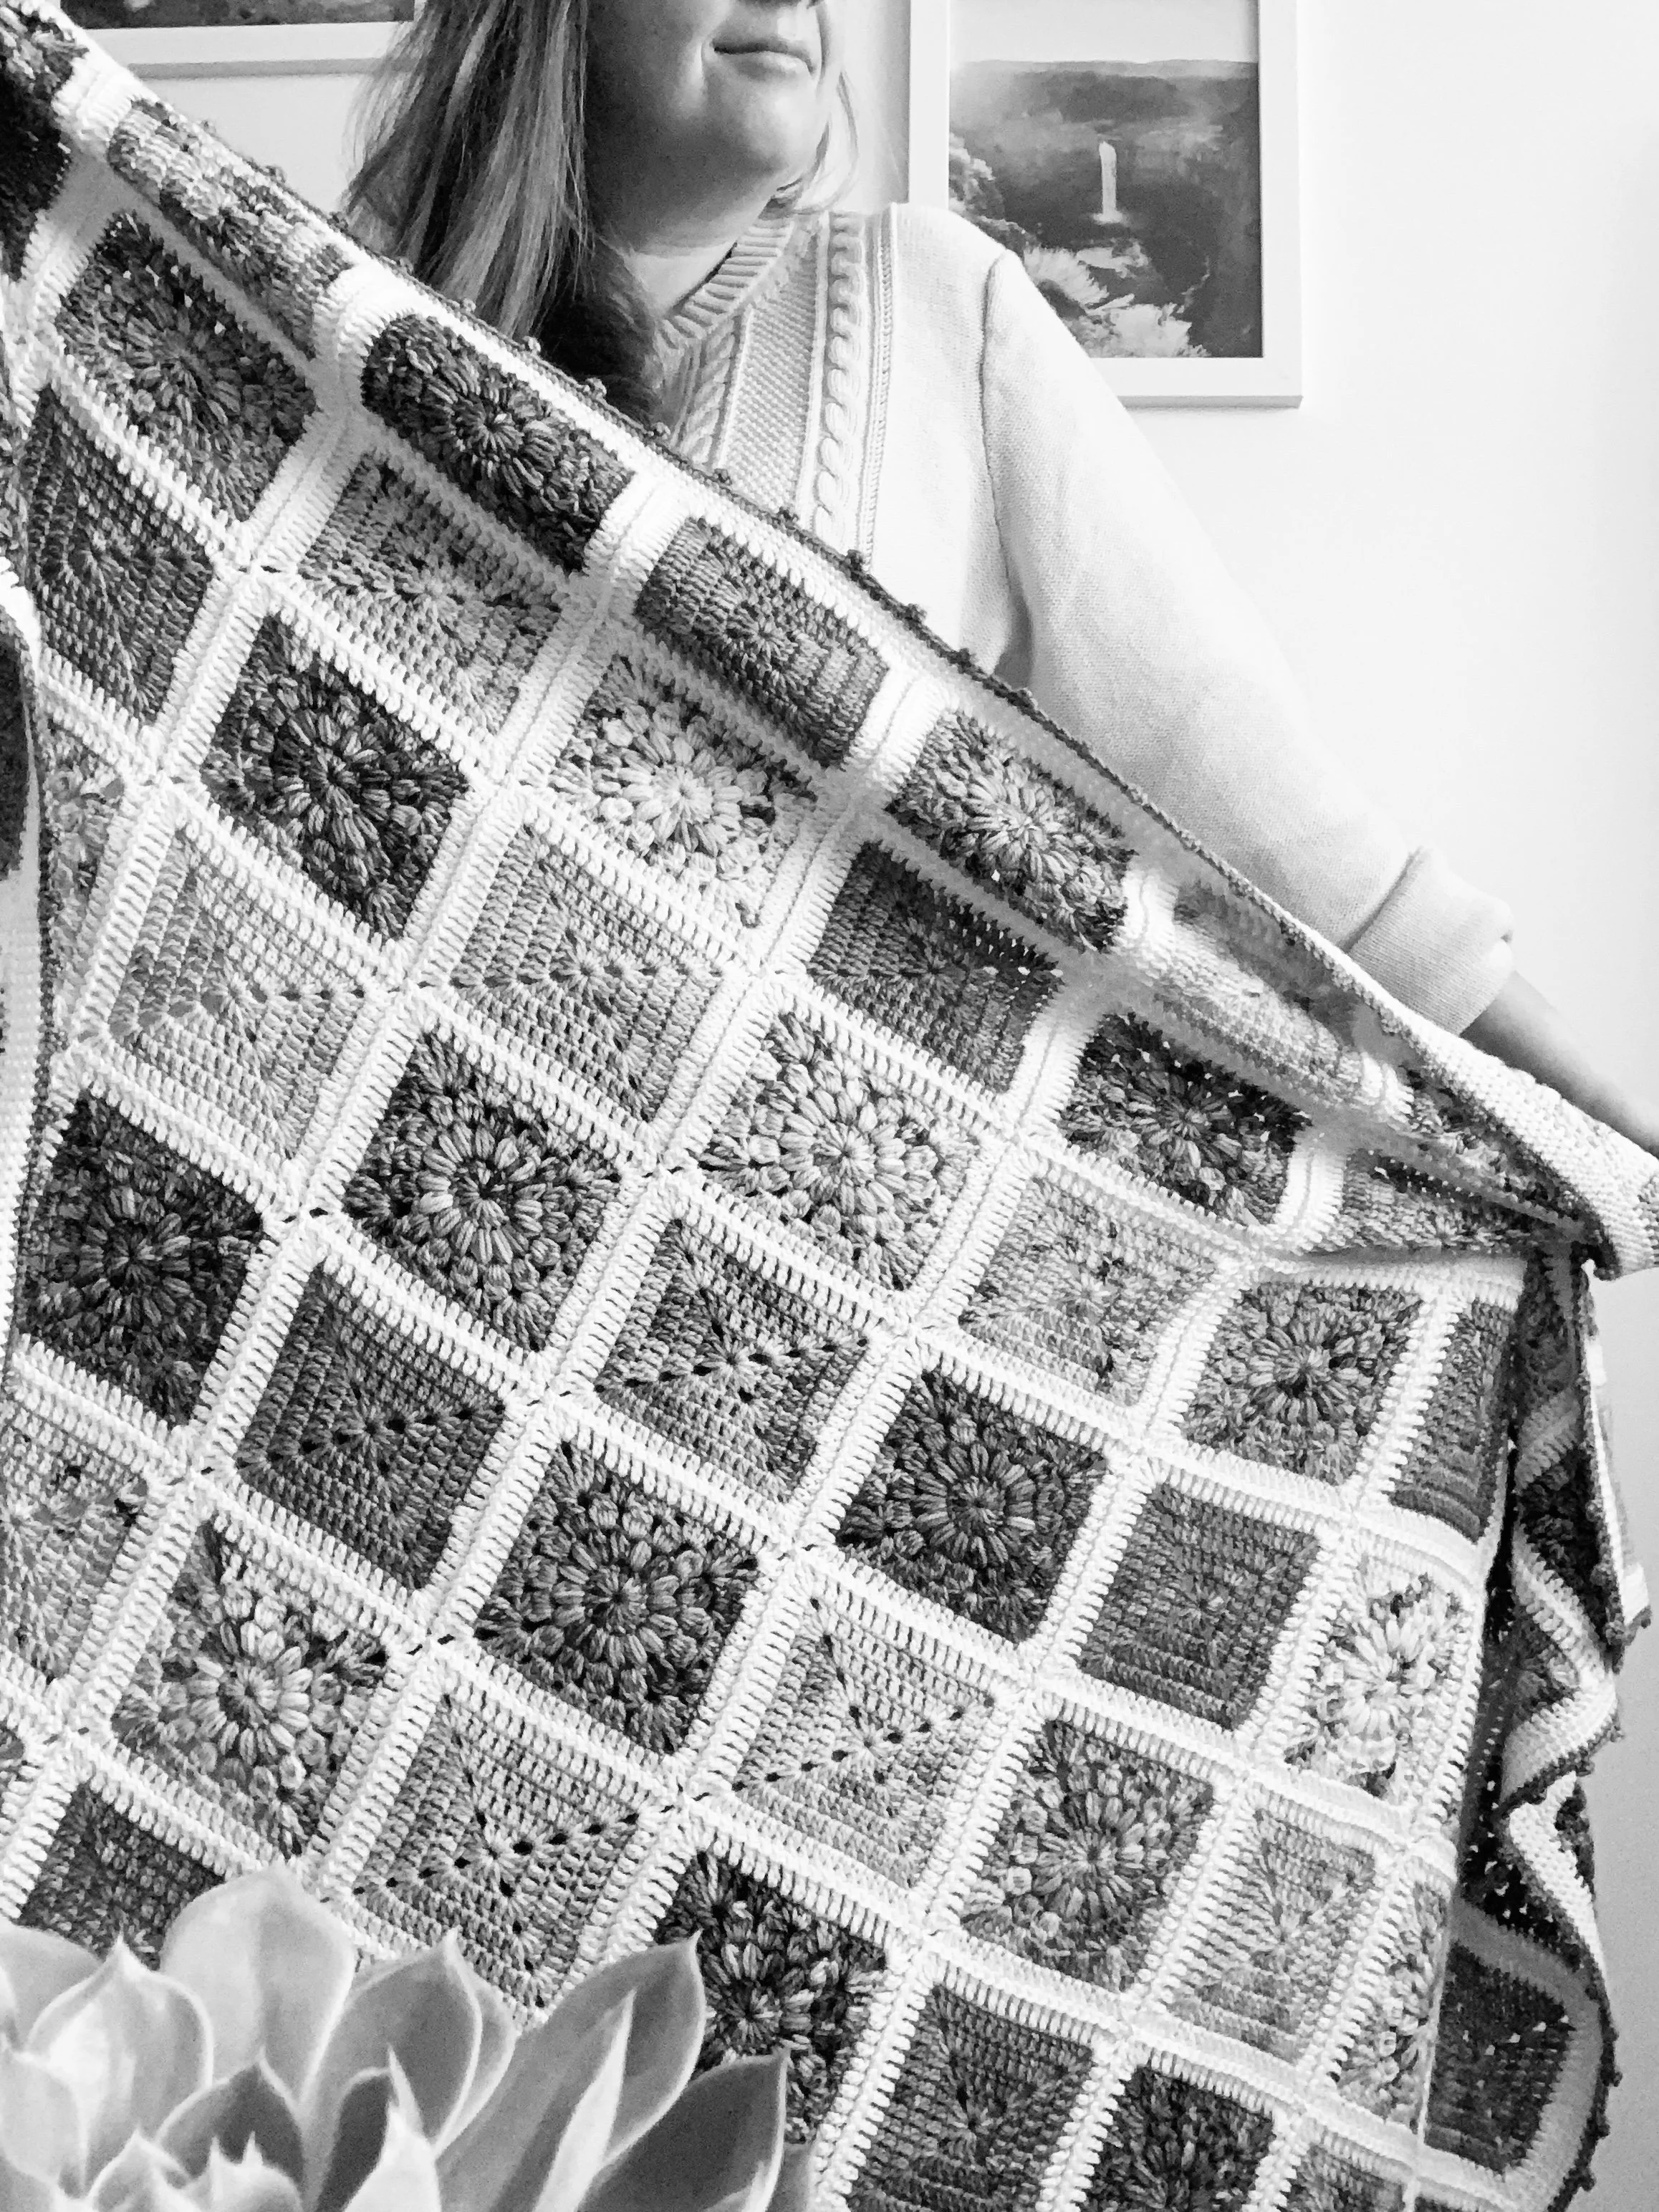
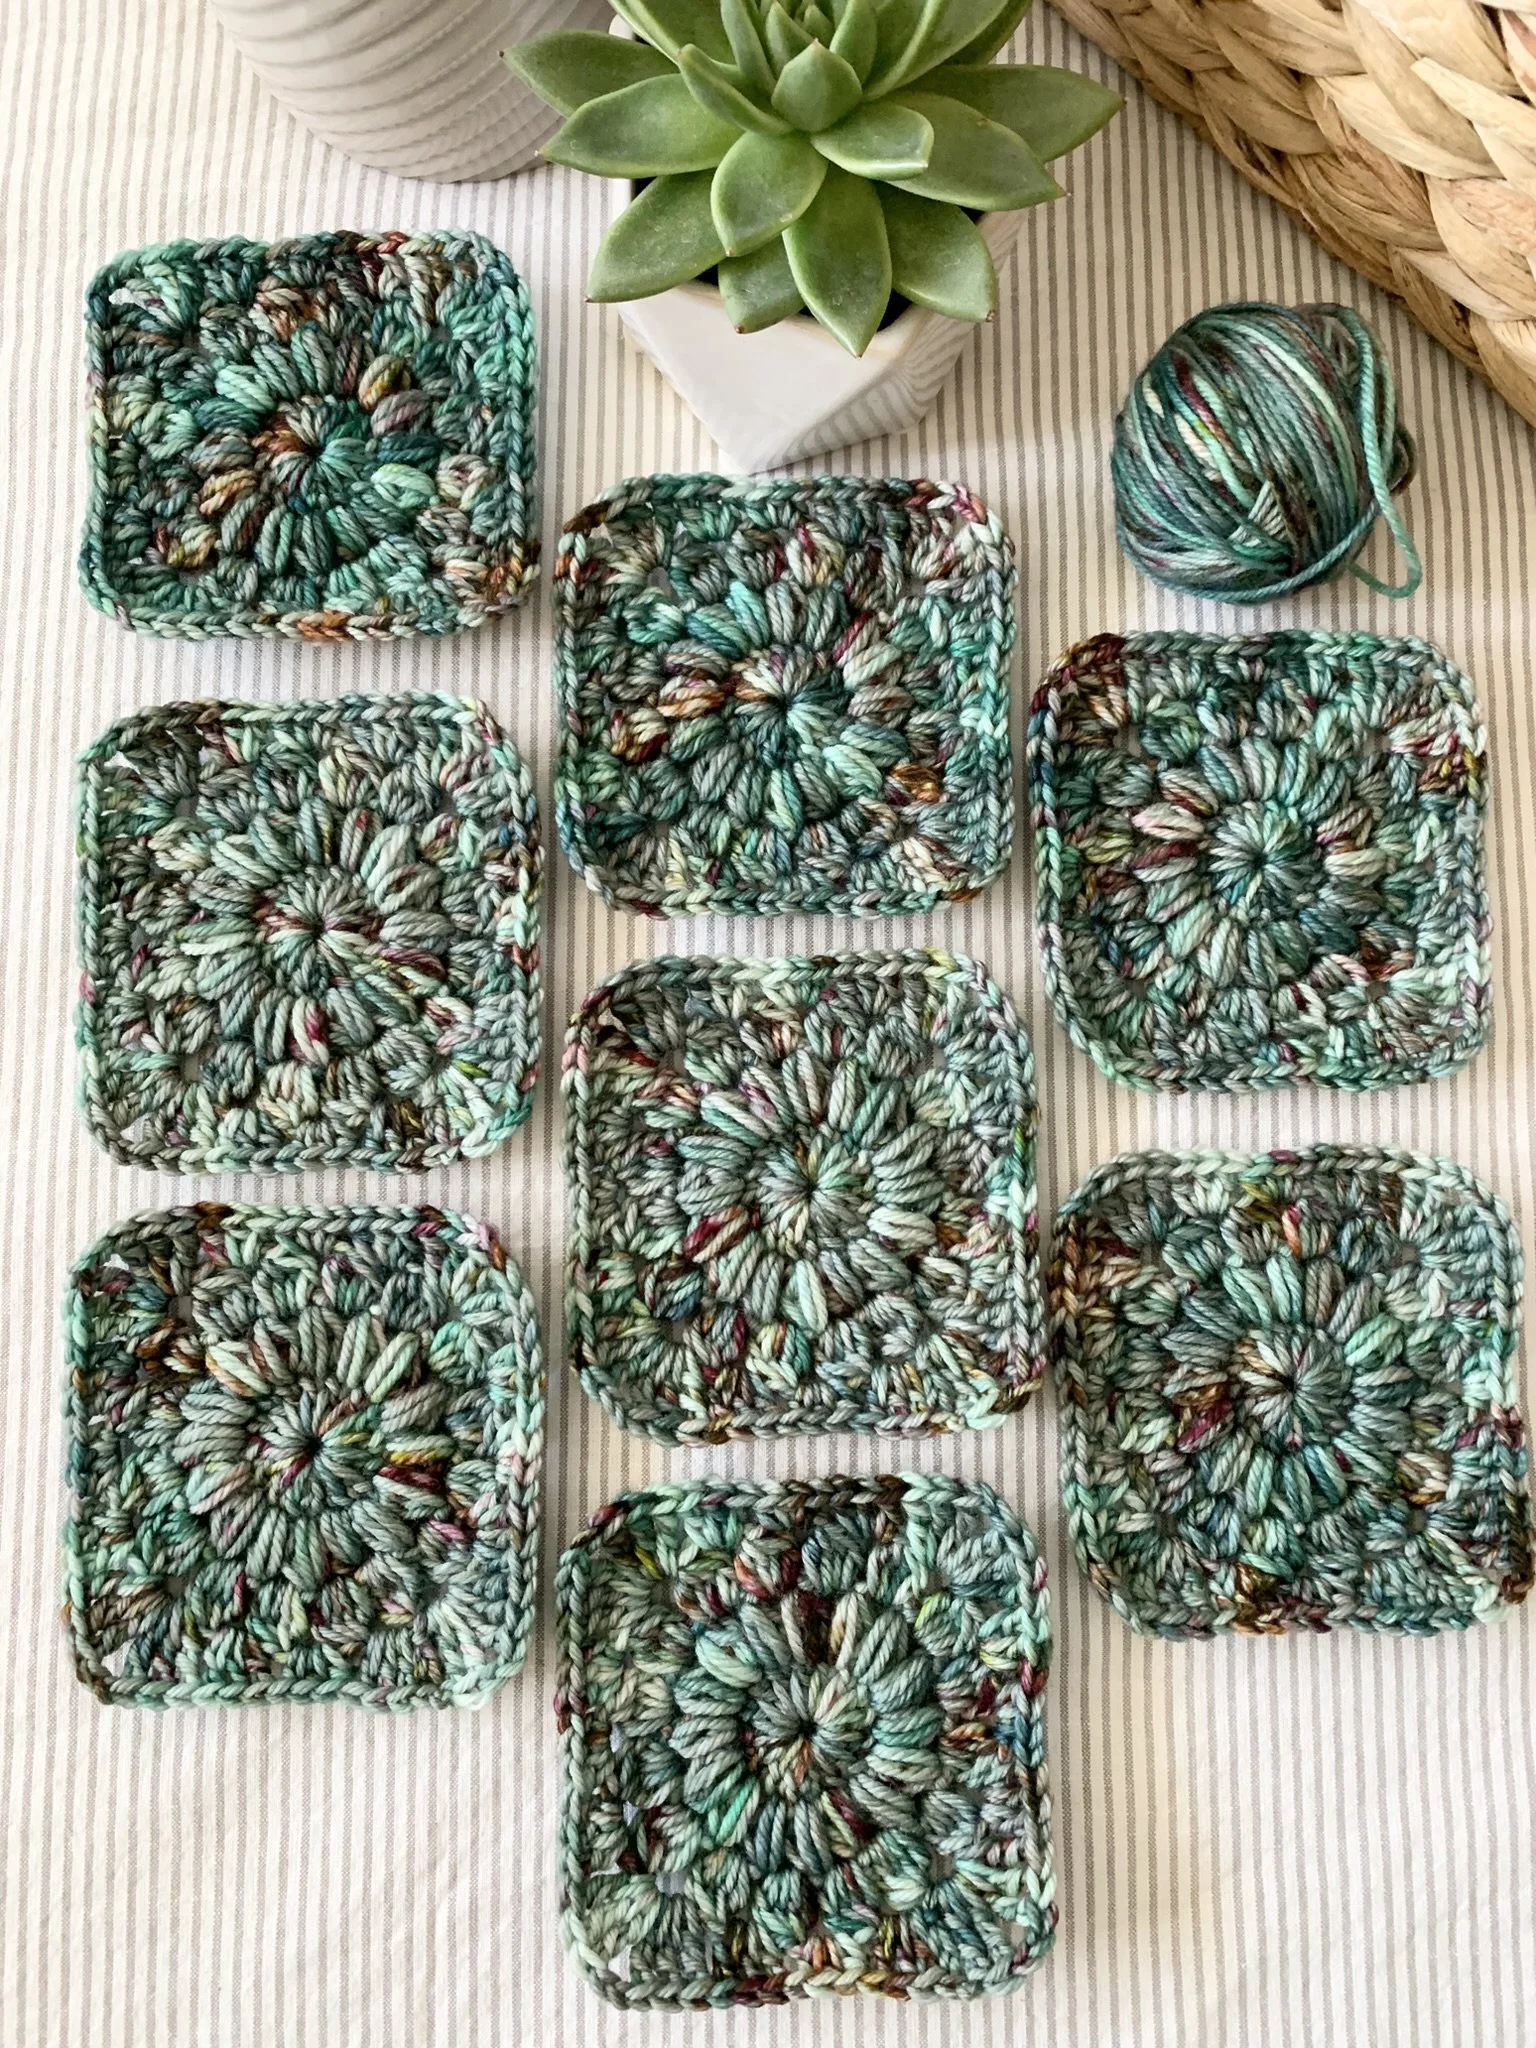
The Succulents Yarn Subscription is a set of 12 new surprise colour ways from Hue Loco Yarn. From it, I used the 12 colours to make up the main squares for the Succulents Granny Square CAL blanket design. Each month a surprise skein of yarn will show up in the mail and from it you make the squares for the blanket. At the end of the year, the blanket is joined up. The blanket construction is made up of two squares: sunburst granny squares and solid granny squares in an alternating pattern. Each month you make 10 squares according to the schedule listed in the pattern below.
We wanted a palette that was playful, whimsical, balanced and home decor friendly. I joined with a light neutral colour that really allows the colours to standout. Each month, on the first day of the month, I’ll be sharing the colour way reveals on Instagram under the hashtag #succulentsCAL and in our Facebook Group here. All updates and sharing is best done in the Facebook group, where everyone can help, support and uplift each other throughout the year.
Not signing up to the yarn subscription? No problem! This CAL is inclusive for all. You can use whatever yarn your heart desires. I’ve listed a few fun alternatives in the yarn section below (with links). If you want to follow along with the colour ways of the written pattern—be sure to check the Facebook Group or Instagram on the 1st of each month for the colour way reveals.
L, M
ps. If you want the printable PDF of the pattern you can grab one in my Ravelry pattern shop below:
Ravelry: Succulents 2025 Blanket CAL Pattern
**Pattern will be sent out in full colour, at the end of the year (2025), to all who purchase the PDF through Ravelry.
***NAUTIKRALL CROCHET X HUELOCO SUCCULENTS 2025 CAL Yarn Subscription (sold out for 2025)— feel free to join with your own yarn subscription or yarn from your stash :)
Notions
US 4.5 mm crochet hook (size 7).
Needle for weaving in ends.
Scissors.
Yarn
Hue Loco Succulents CAL Yarn Subscription, DK weight 100% SW Merino, (230yds/100g):
January: Propagation (182yds/79g) 1 skein
February: Echevaria (127yds/55g) 1 skein
March: Terrarium (179yds/78g) 1 skein
April: Silver Jade (131yds/57g) 1 skein
May: Air Plant (179yds/78g) 1 skein
June: Rosette (131yds/57g) 1 skein
July: Purple Haze (179yds/78g) 1 skein
August: Himalayan Skies (131yds/57g) 1 skein
September: String of Pearls (177yds/77g) 1 skein
October: Hoya (131yds/57g) 1 skein
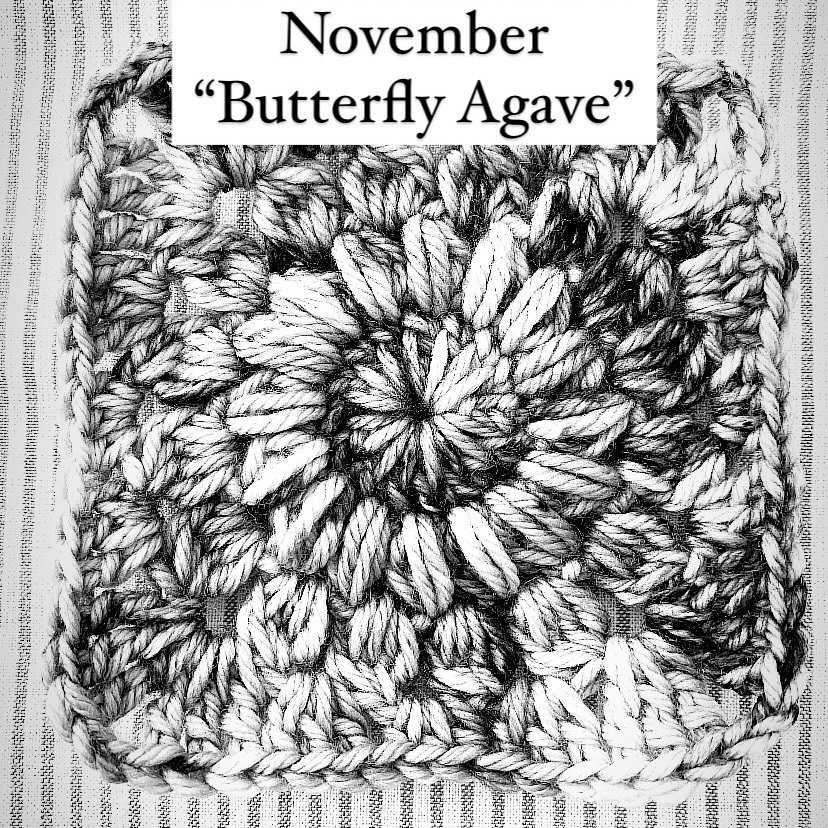
November: Butterfly Agave (182yds/79g) 1 skein
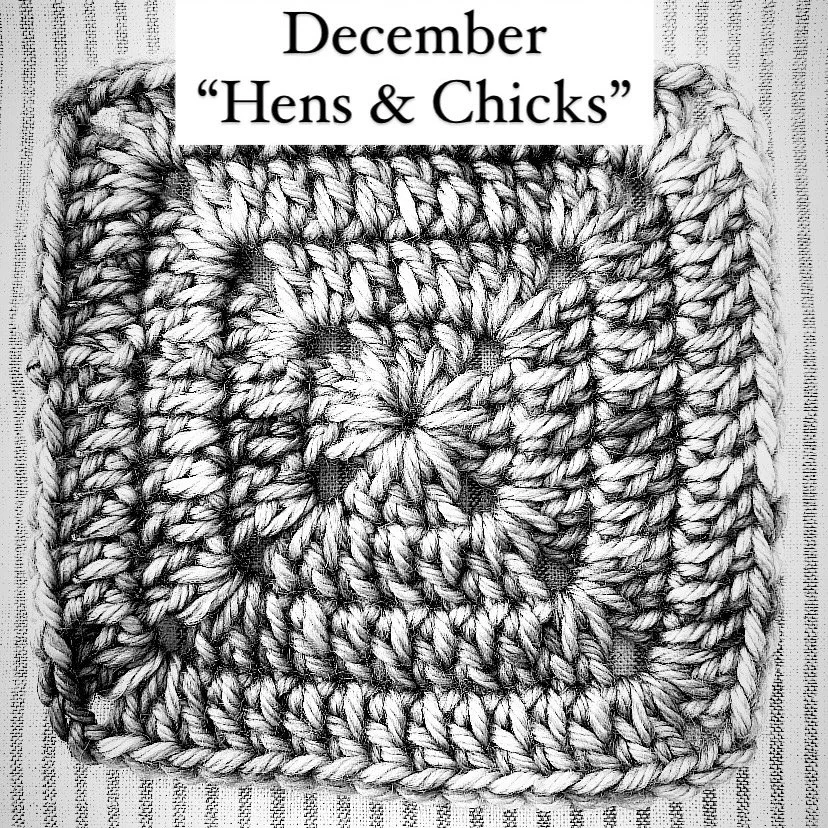
December: Hens & Chicks (198yds/86g) 1 skein
Joining Yarn: Snowshoe (1040yds/452g) 5 skeins
*** any DK weight yarn can be substituted as long as gauge is met-here are a few of my favourite alternatives:
Hue Loco Semisolids DK (100% SW merino)
Hue Loco Speckled DK (100% SW merino)
WeCrochet Swish DK (100% SW merino)
WeCrochet Capra DK (85% merino wool, 15% cashmere)
WeCrochet Gloss DK (70% merino, 30% silk)
WeCrochet Swish Pops (100% SW Merino)
WeCrochet CotLin (70/30% Tanguis Cotton, Linen)
Berocco Vintage DK (52% Acrylic, 40% Wool, 8% Nylon)
Scheepjes Stone Washed (78% Cotton and 22% Acrylic)
Gauge
4 rnd sunburst granny square= 3.5” across (unblocked).
4 rnd solid granny square= 3.5” across (unblocked).
Sunburst/Solid Square with joining rnd= 4.5” (unblocked)
Finished Size
48” x 62” Blocked
Glossary (using US Crochet Terminology)
st(s)- stitch(es)
ch- chain
ch-sp- chain space
sl st- slip stitch
rnd- round
SC- single crochet
HDC- half double crochet
DC- double crochet
tr- treble crochet
cl st(s)- cluster stitch(es)
4 DC cl– 4 double crochet cluster stitch
puff- puff stitch
BLO- back loop only
YO- yarn over
RS- right side
WS- wrong side
How to puff stitch (puff): YO and insert hook into st, YO and pull up a loop (pull up to about the height of a DC). Repeat this 2 more times. There should be 7 loops on the hook. YO and pull through all 7 loops.
How to 4 DC cl: YO and insert hook into sp, YO and pull up a loop, YO and pull through 2. Repeat 3 more times. There should be 5 loops on the hook. YO and pull through all 5 loops.
Pattern Notes
In some cases, the video tutorials have been used for other patterns. Please follow the yarn recommendations, hook size and stitch counts in the written pattern- the videos are only meant as visual guides.
Gauge will affect yarn quantities, please adjust hook size to meet gauge.
Ch 2 counts as DC throughout.
Ch 3 counts as tr throughout.
The blanket construction is made up of two squares: sunburst granny squares and solid granny squares in an alternating pattern.
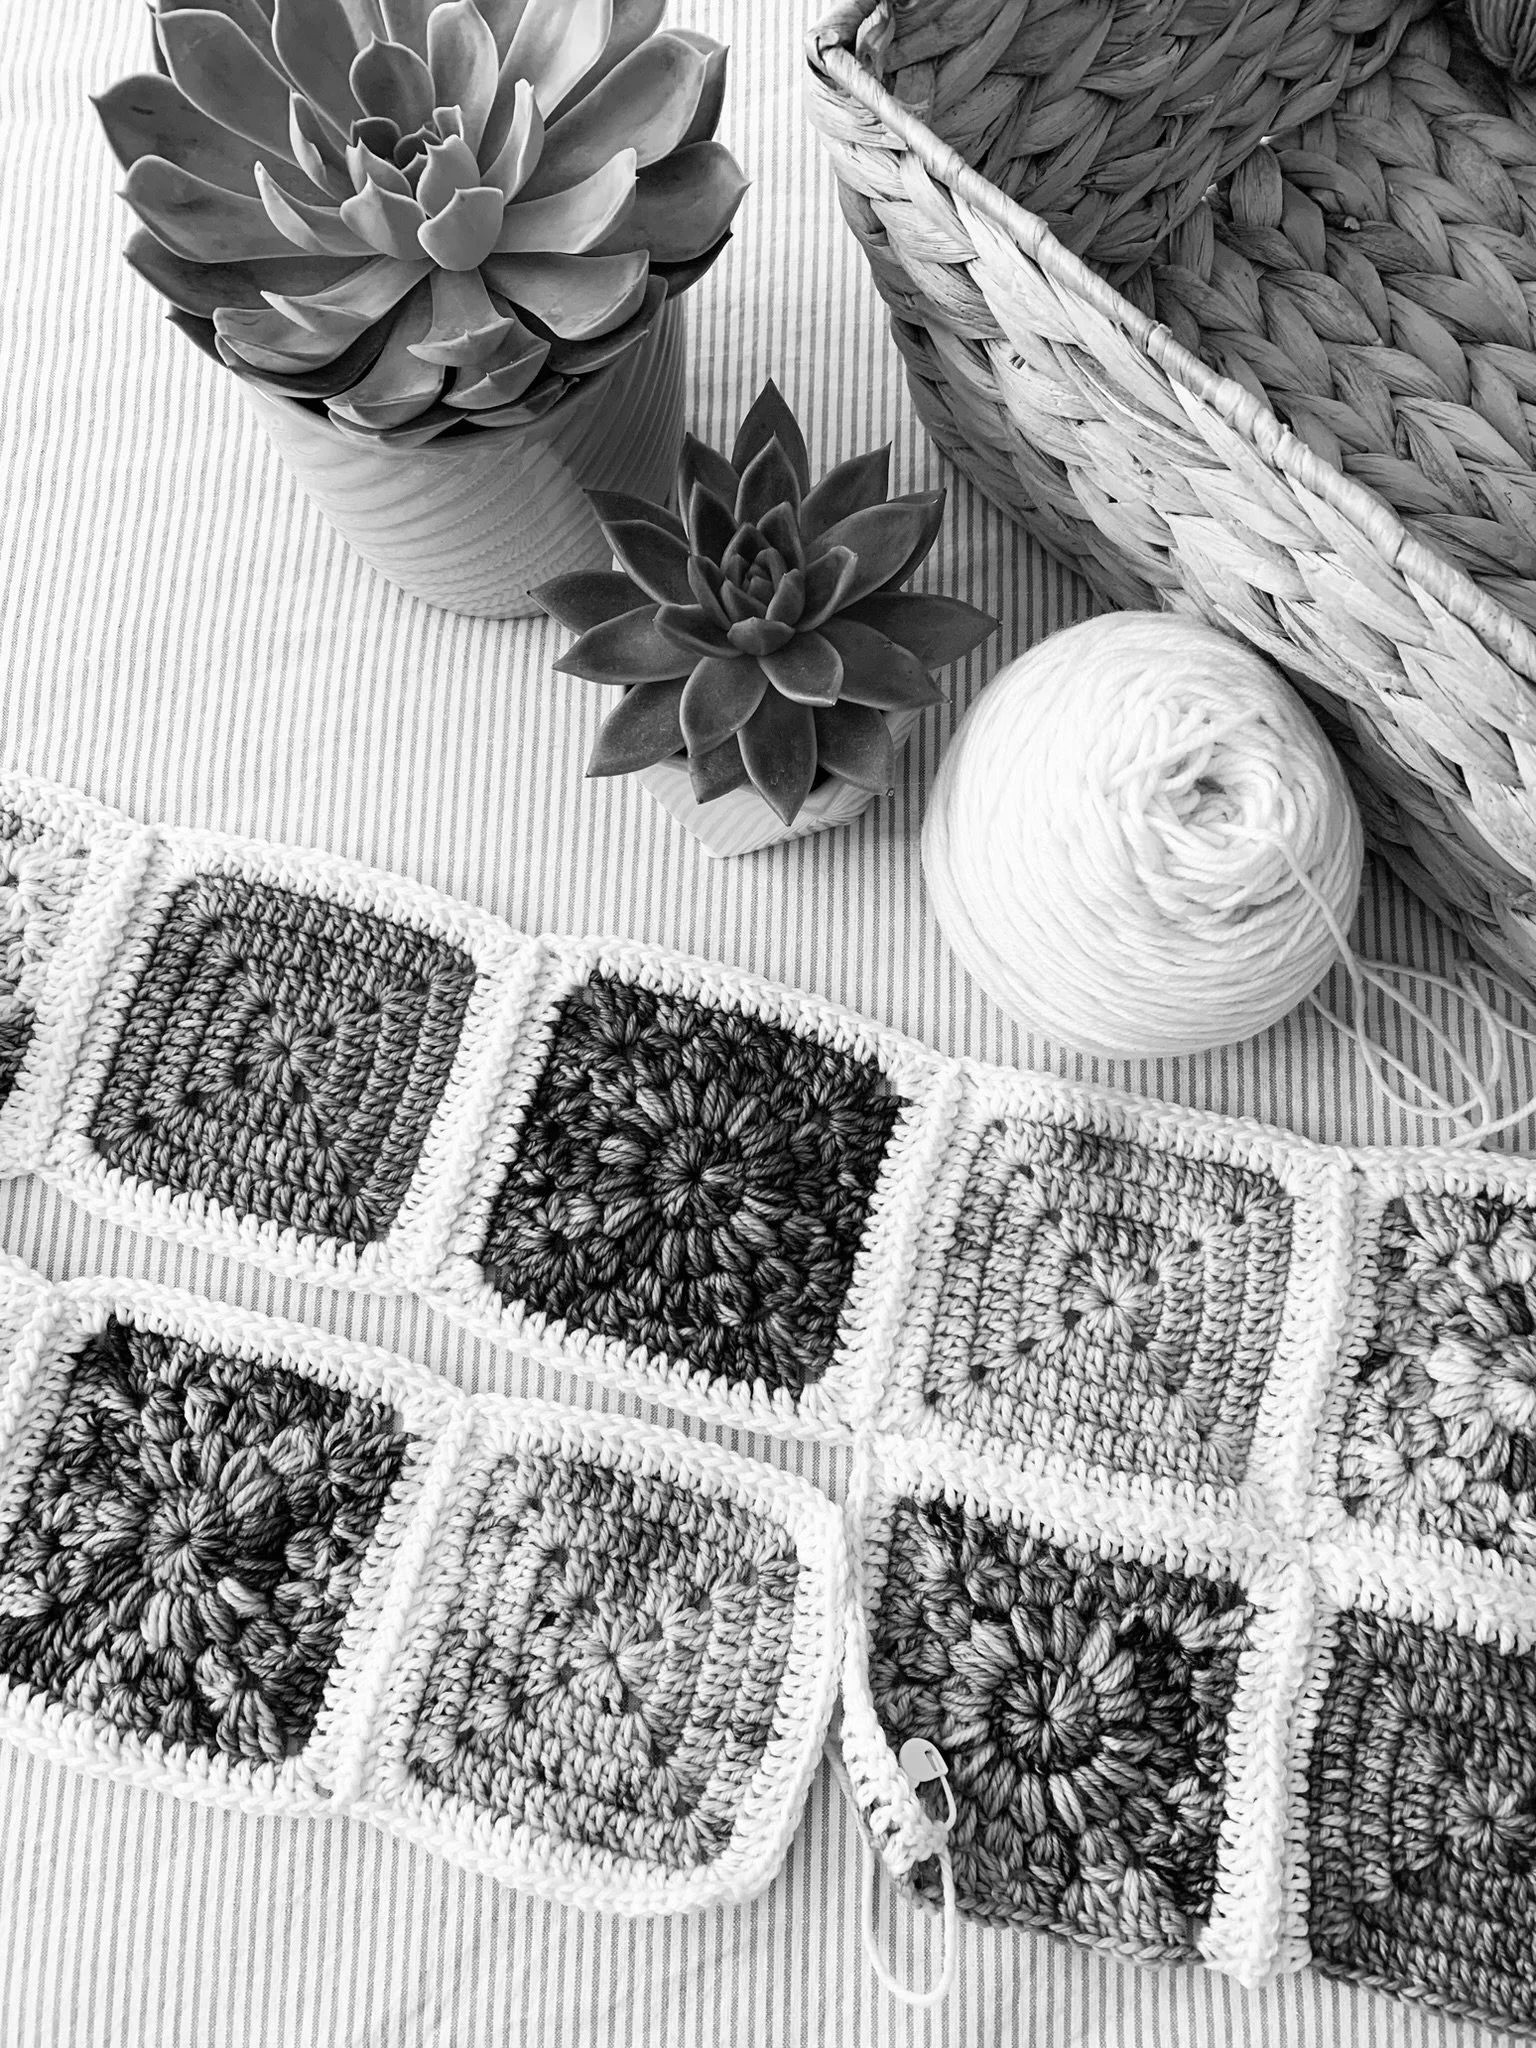
Squares are joined with CJAYG; where each square is joined to the next in a continuous fashion while working an extra round onto each square.
Please note that the final colour way December will vary from the rest of the quantities as it was used to put the final round of Picot Border on the blanket. You may choose to use a different colour if you’d like—it will require approximately (69yds/30g).
The Colour Legend is my attempt to provide you with colour accurate photos that you can use if you’d like to find an alternative yarn. It will be updated each month on the free website pattern and my Instagram. At the end of the year everyone who purchased a PDF will receive a revised edition with full colour photos.
Please scroll all the way to the bottom for a Surprise :)
Crochet Along Community—check out our Facebook group here: “NautiKrall Crochet x Hue Loco Succulents 2025 CAL” or follow the hashtag below on Instagram and Ravelry Projects to stay connected. I’ll be sharing in these spaces and updating each month throughout the year.
Don’t forget to share your makes on Instagram and Facebook! I always love seeing what you have all worked up. Tag me on Instagram @nautikrallcrochet or Facebook @nautikrall_crochet, or use the hashtag: #succulentsCAL
Colour Legend
Pattern Graph/Schematic
Blanket Dimensions: 10 x 12= 120 squares
*Squares coordinate with the “Schedule and Granny Square Layout” table below. Please use these tables/schematics for final quantities and placement of squares.*
Pattern Sunburst Granny Square
Rnd 1
With first colour, Ch 4.
Sl st into 4th chain from hook to create centre ring.
Ch 2, 15 DC into centre ring (16 total).
Join with sl st to the top of first DC (not the ch- 2), do not fasten off…
Rnd 2
Ch 1, Puff into same st, ch 1.
[Puff, ch 1] into each st around (16 puff sts).
Sl st into the sp between the first two puff sts (NOT into top of the first puff st), do not fasten off…
Rnd 3
Ch 2, work a [4 DC cl, ch 2] into same sp.
Work a [4 DC cl, ch 2] into each ch-1 sp around (16 cl sts).
Sl st into the ch-2 sp between the first two cls (NOT into the top of the cl st), do not fasten off…
Rnd 4
Ch 3, work [2 tr, ch 2, 3 tr] into same sp (completes 1st corner of square).
*Work 3 DC into the next ch-sp.
Work 3 HDC into the next ch-sp.
Work 3 DC into the next ch-sp.
Into the next ch-sp work [3tr, ch 2, 3 tr].*
Repeat from * to * 2 more times.
Work 3 DC into the next ch-sp.
Work 3 HDC into the next ch-sp.
Work 3 DC into the next ch-sp.
Sl st to the top of first tr (not the ch-3).
Fasten off, weave in ends.
***Please see the YouTube video tutorial below on how to make Sunburst Granny Squares:
Pattern Solid Granny Square
Rnd 1
Ch 4, sl st into 4th ch from hook.
Ch 2, 2 DC into centre ring, ch 2.
[3 DC into centre ring, ch 2], 3 times.
Join rnd with sl st into top of first DC (not the ch-2).
Do not fasten off.
Rnd 2
Ch 2, DC into same st.
*DC into each st across, into corner sp, [2 DC, ch 2, 2 DC].*
Repeat from * to * 3 times (each side should have 7 sts including corners).
Join with sl st into the top of the first DC (not the ch-2).
Do not fasten off.
Rnd 3
Ch 2, DC into same st.
*DC into each st across, into corner sp, [2 DC, ch 2, 2 DC].*
Repeat from * to * 3 times (each side should have 11 sts across, including corners).
DC into the next 2 sts, join with sl st into the top of the first DC (not the ch-2).
Do not fasten off.
Rnd 4
Ch 2, DC into same st.
*DC into each st across, into corner sp, [2 DC, ch 2, 2 DC].*
Repeat from * to * 3 times (each side should have 15 sts across, including corners).
DC into the next 4 sts, join with sl st into the top of the first DC (not the ch-2).
Fasten off, weave in ends.
**Please see the YouTube video tutorial below for how to crochet Solid Granny Squares:
Assembling Blanket Squares CJAYG
With RS of squares face up, lay out all squares in the arrangement from the colour graph/schematic above.
Using joining colour, start in top right-hand corner to join squares across the rows.
Example: First row will be joined from square number 10 (May) across to square number 1 (June). The second row will start with square number 20 (Oct) and be worked across to square number 11 (Nov).
Following along with the video tutorial, crochet squares together until blanket is complete.
Once back to the start of the blanket (in the top right-hand corner)- DO NOT FASTEN OFF.
You are now ready to start border Round 1.
***Please see video tutorial below for how to join Granny Squares with CJAYG to create blanket:
Border
Continued from CJAYG…
Rnd 1
Ch 1, SC into same st and each st around blanket.
Where two squares meet, put 1 SC into each corner sp.
Into each of the 4 corners of blanket work 3 SC (you may want to place a st marker into the middle SC of each corner to help with next rnds).
Join rnd with sl st into top of first SC (not the ch-1).
Do not fasten off…
Rnd 2
Ch 1, SC into same st, and each st around blanket.
In the 2nd (or middle st) of each corner, work 3 SC (you may want to place a st marker into the middle SC of each corner to help with next rnds).
Join rnd with sl st into top of first SC (not the ch-1).
Do not fasten off…
Rnd 3
Repeat Rnd 2.
Fasten off.
Rnd 4
Join December (Hens & Chicks) yarn and ch 1, SC into same sp and into next 4 sts (5 SC).
Work picot st around border of blanket: *[Ch 4, sl st into centre base of SC st].
SC into the next 5 sts.*
Repeat from * to * all the way around border of blanket.
Finish with sl st into top of first SC.
Fasten off and weave in all ends.
**Please see the YouTube video tutorial below on how to crochet a picot border:
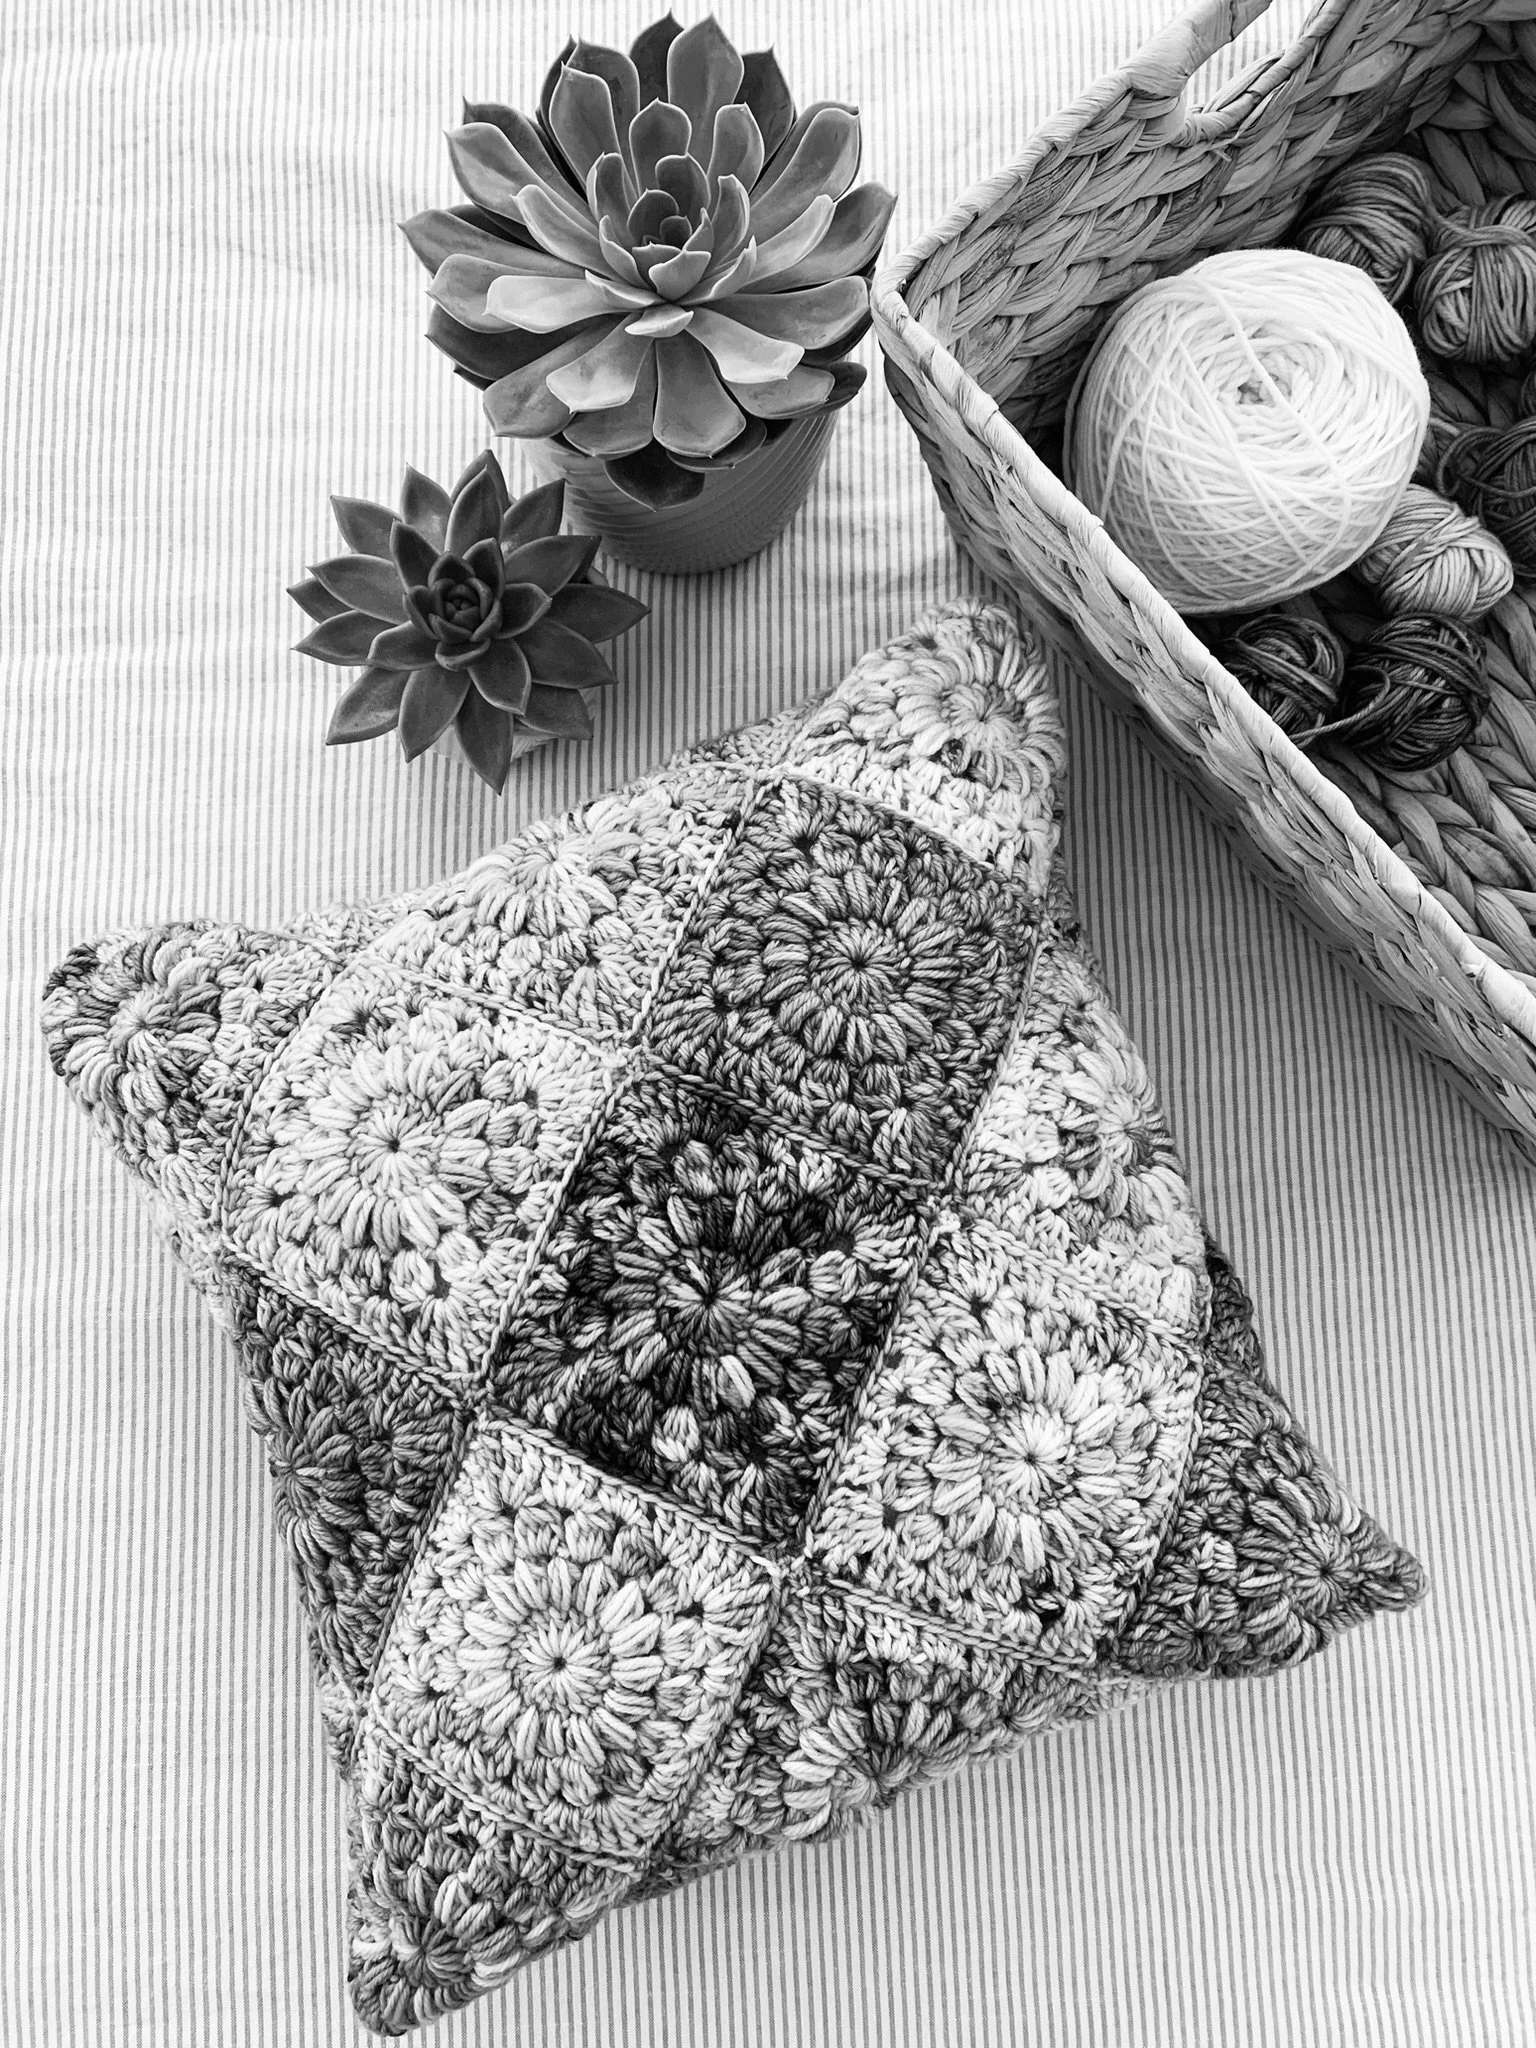
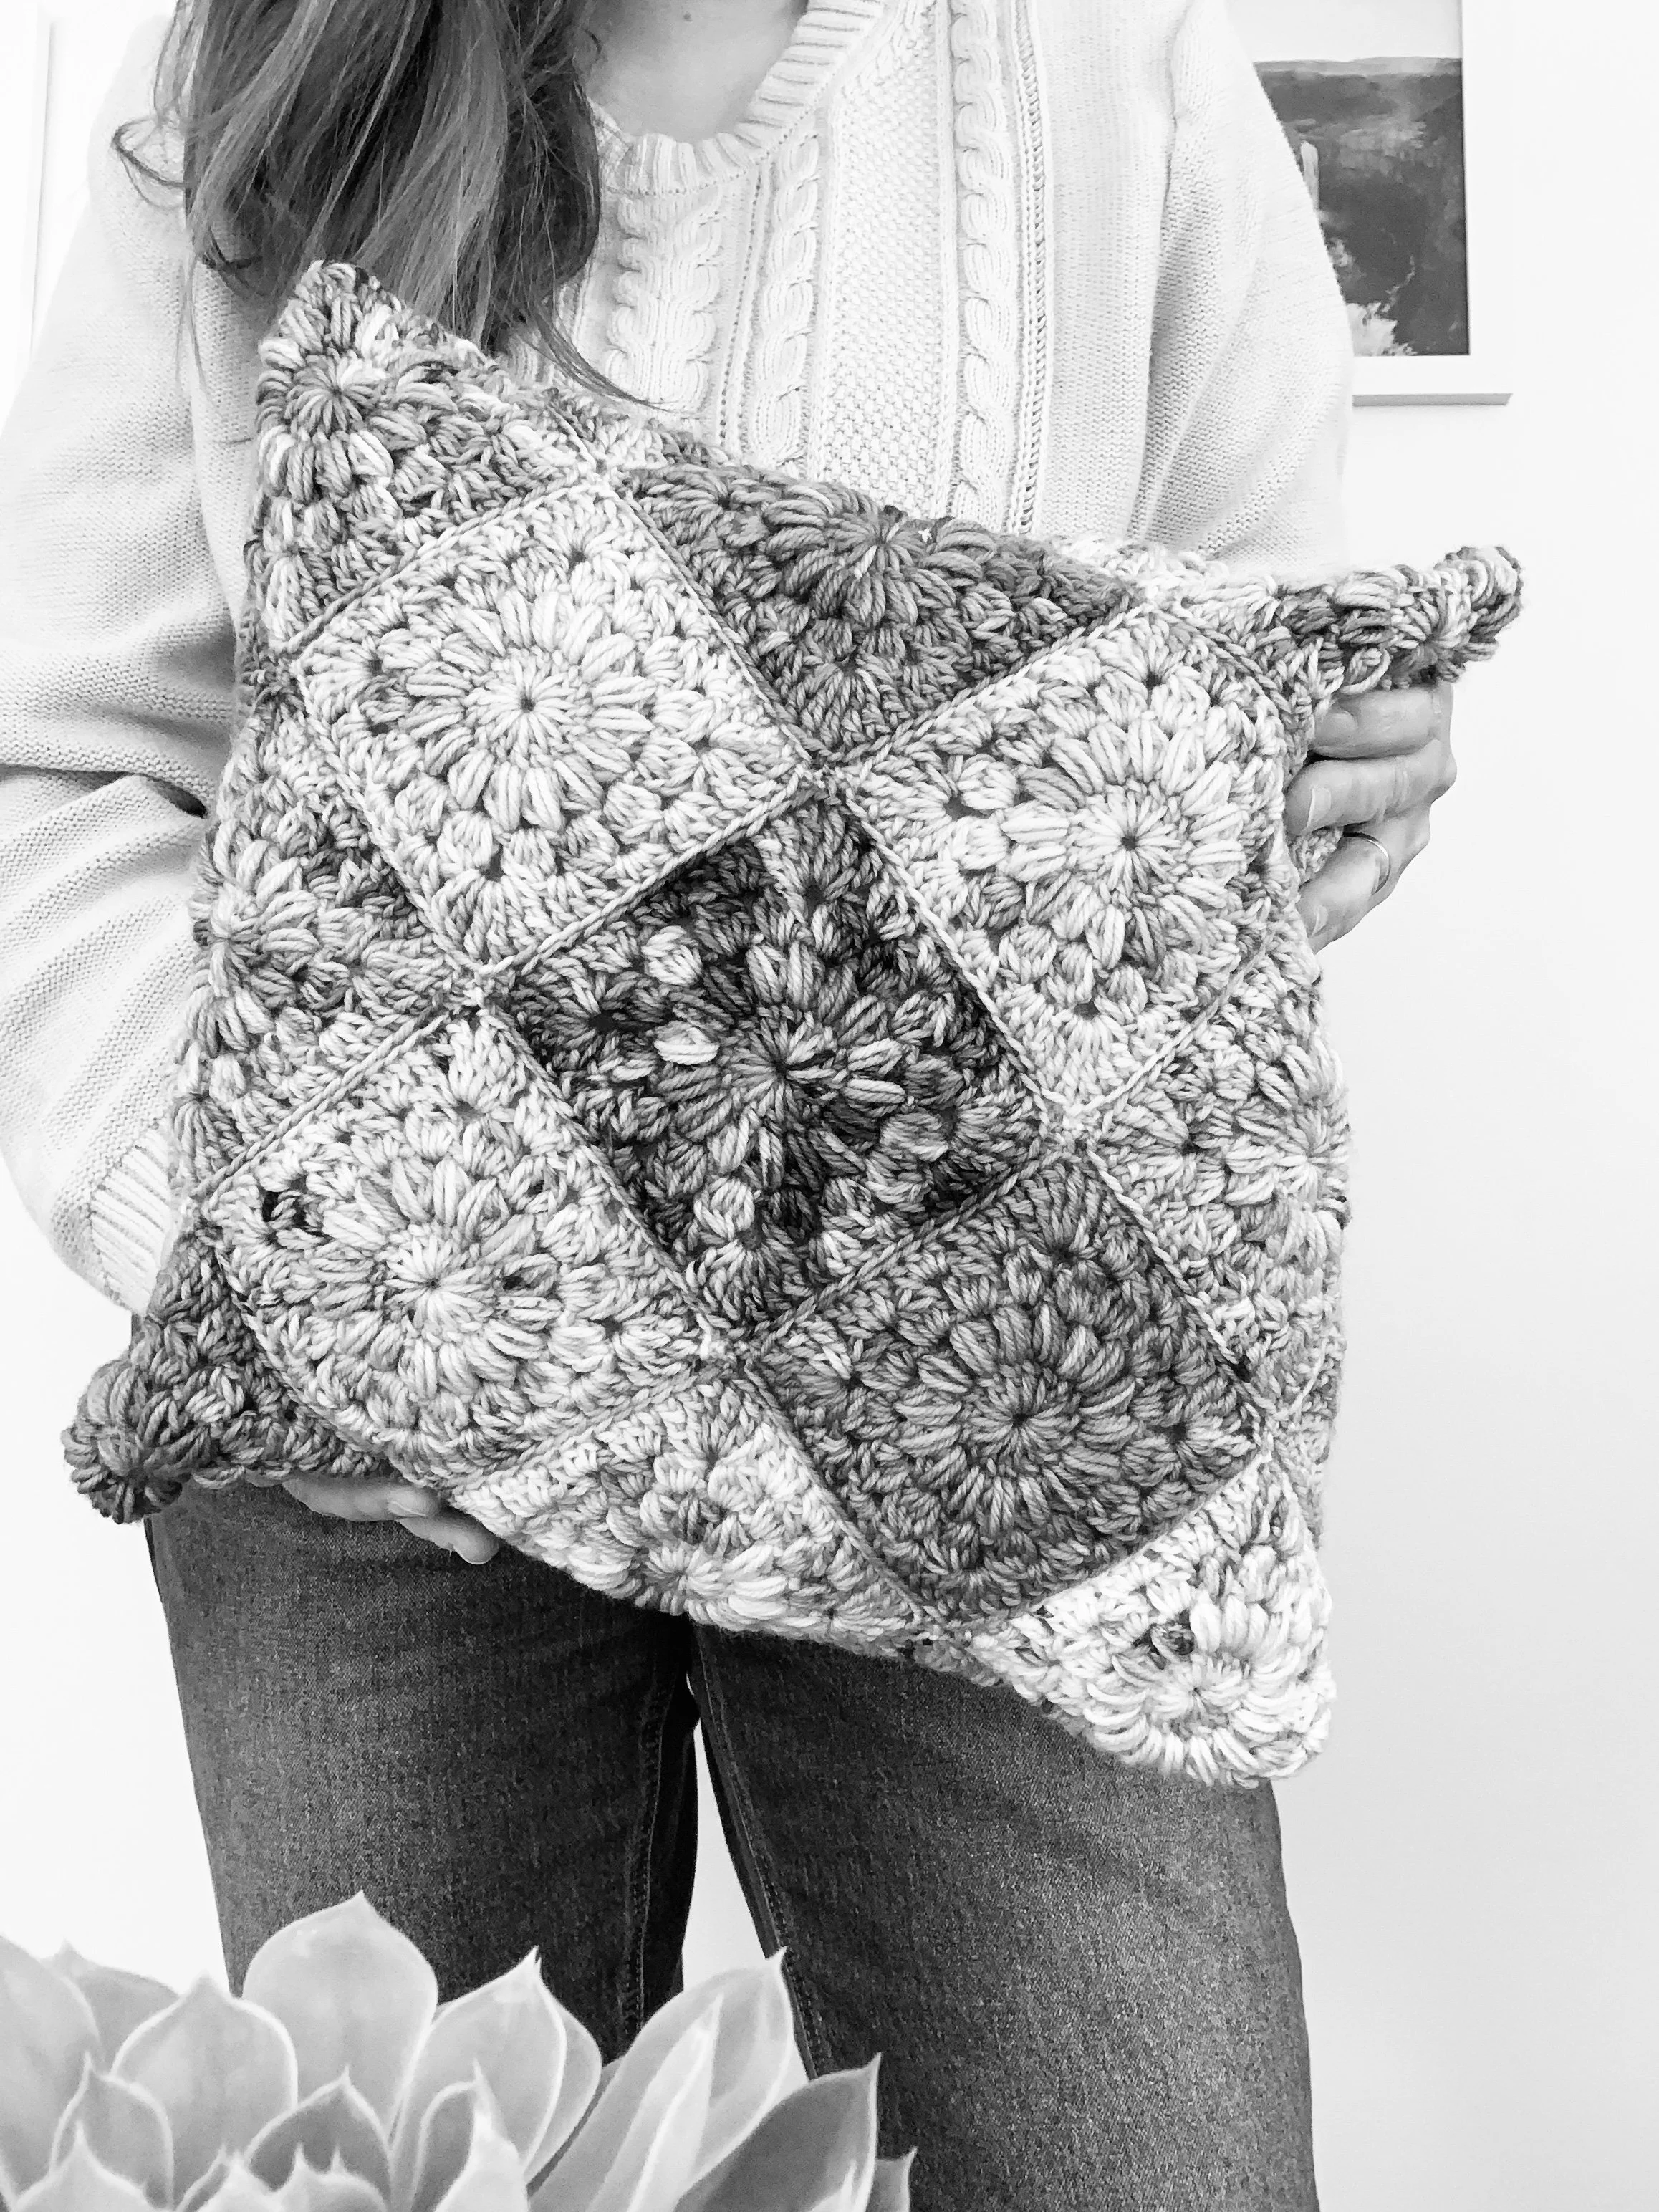
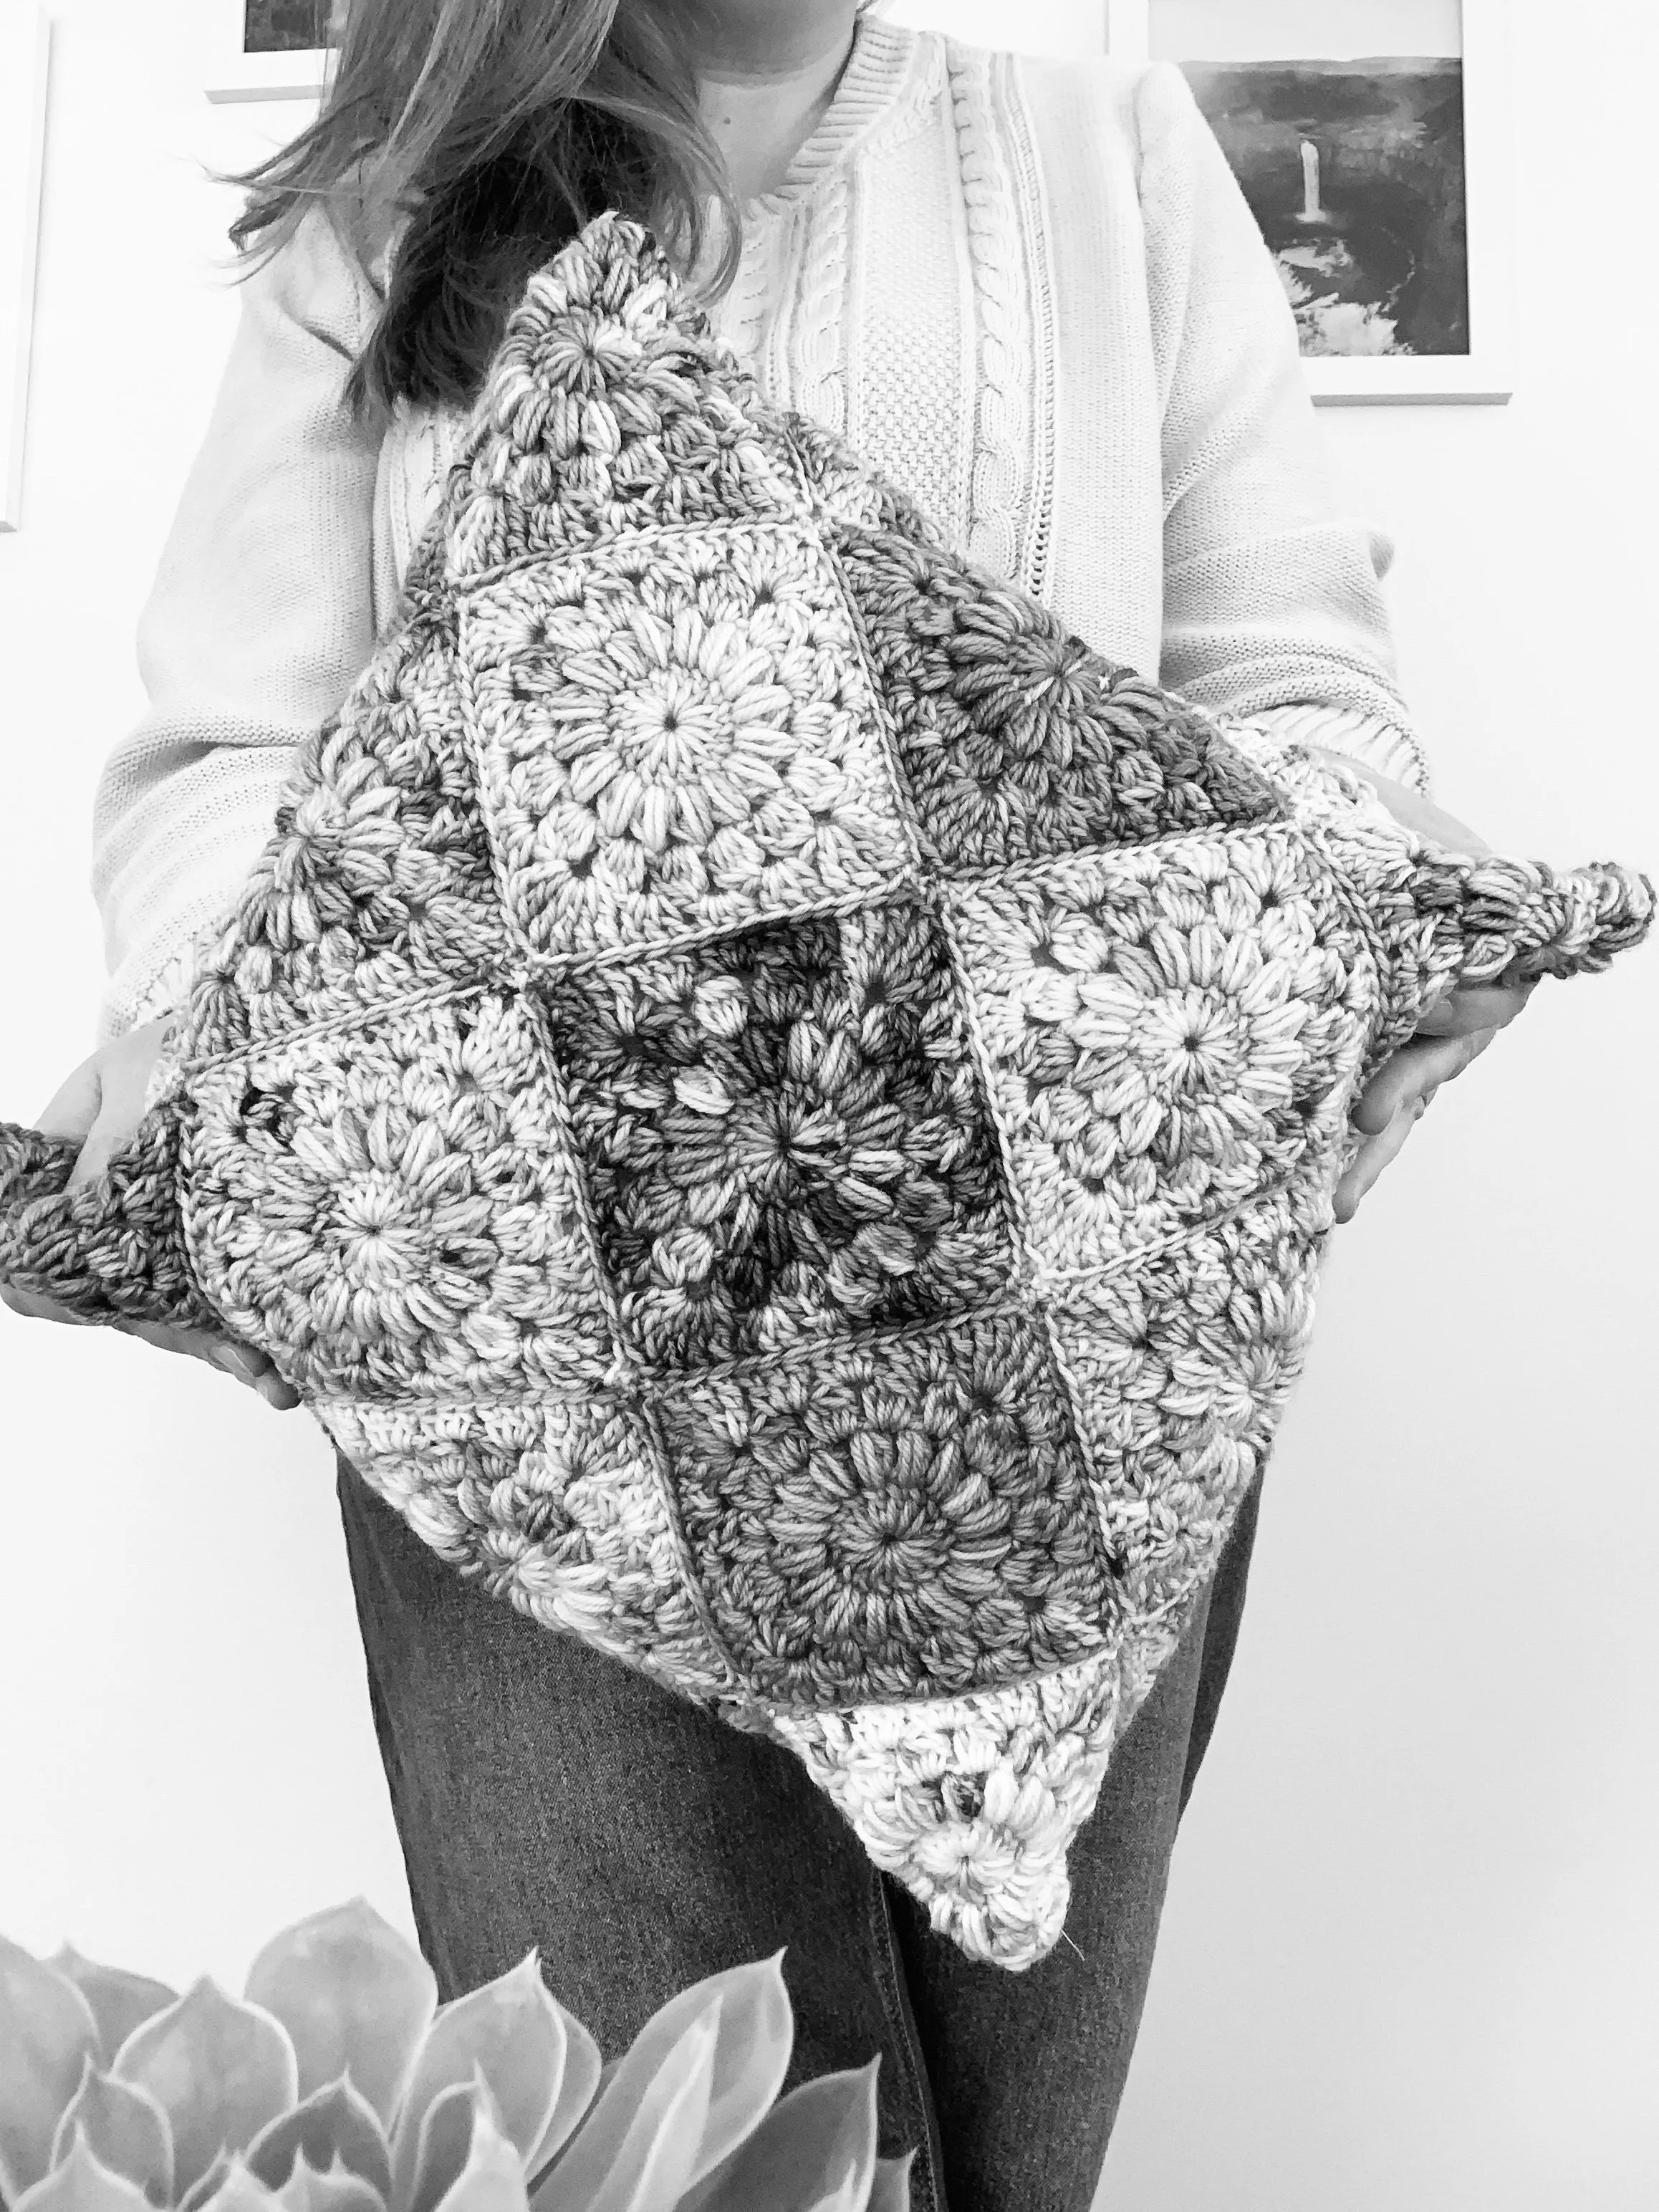


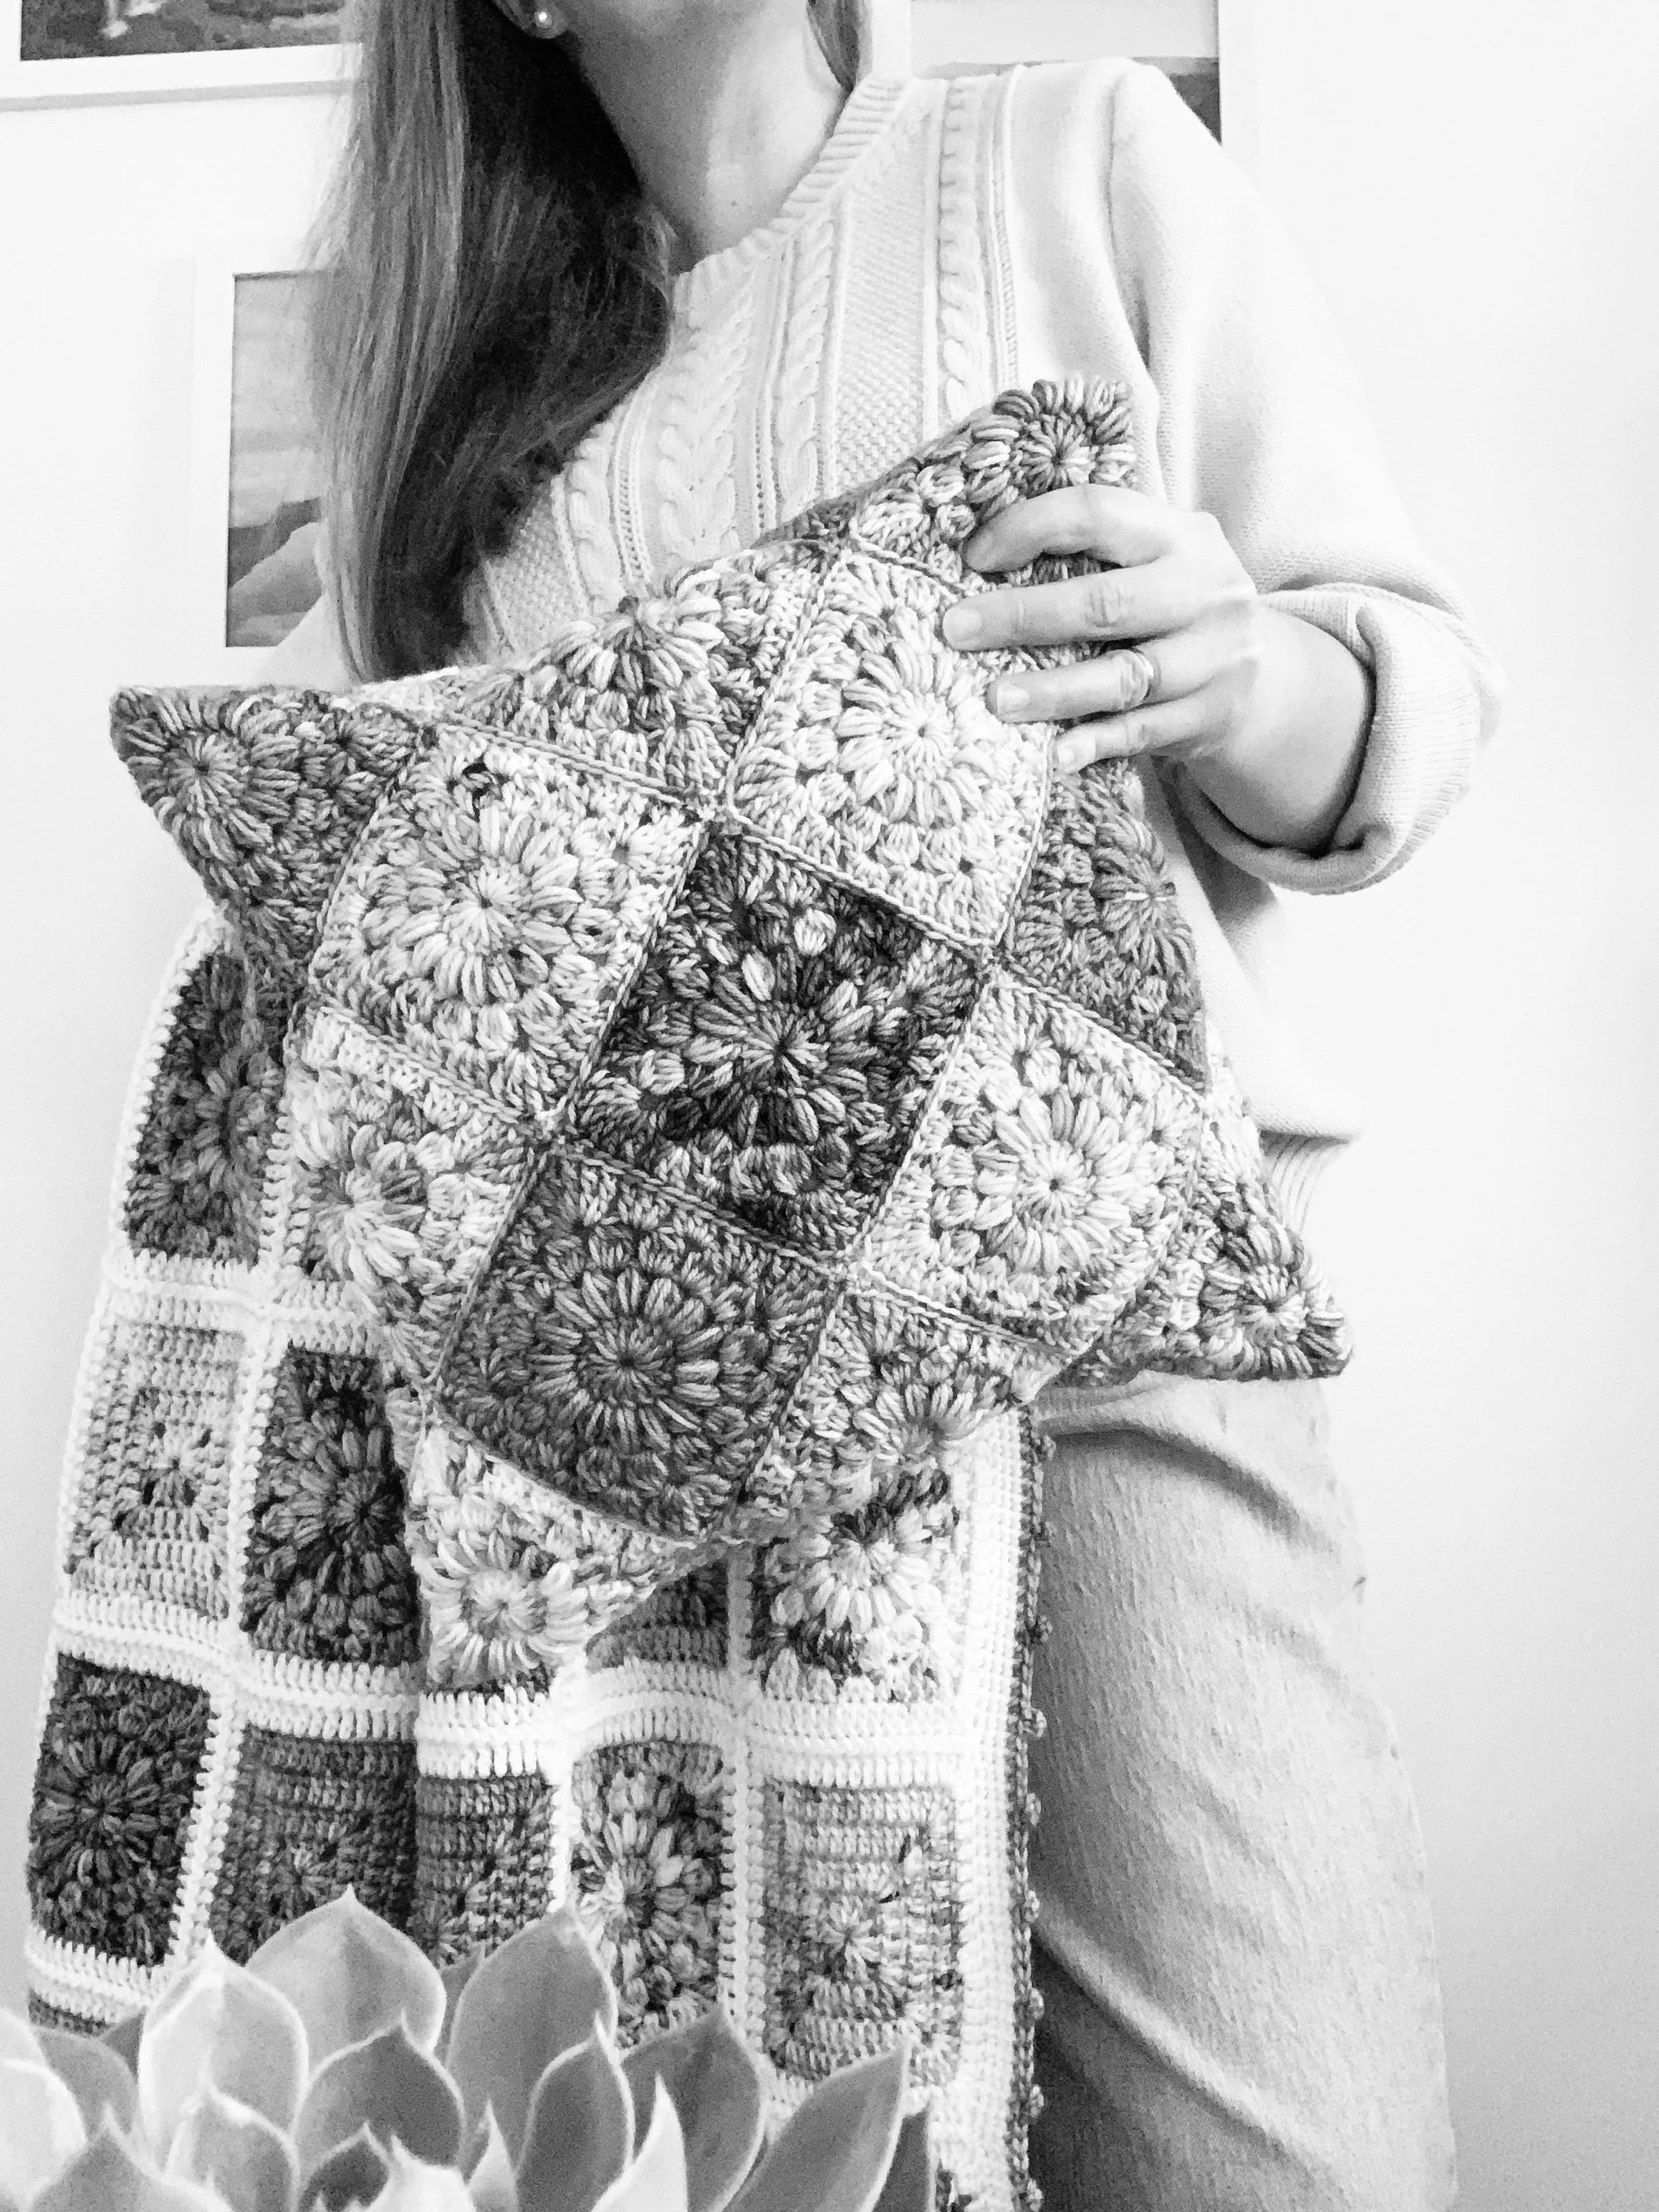
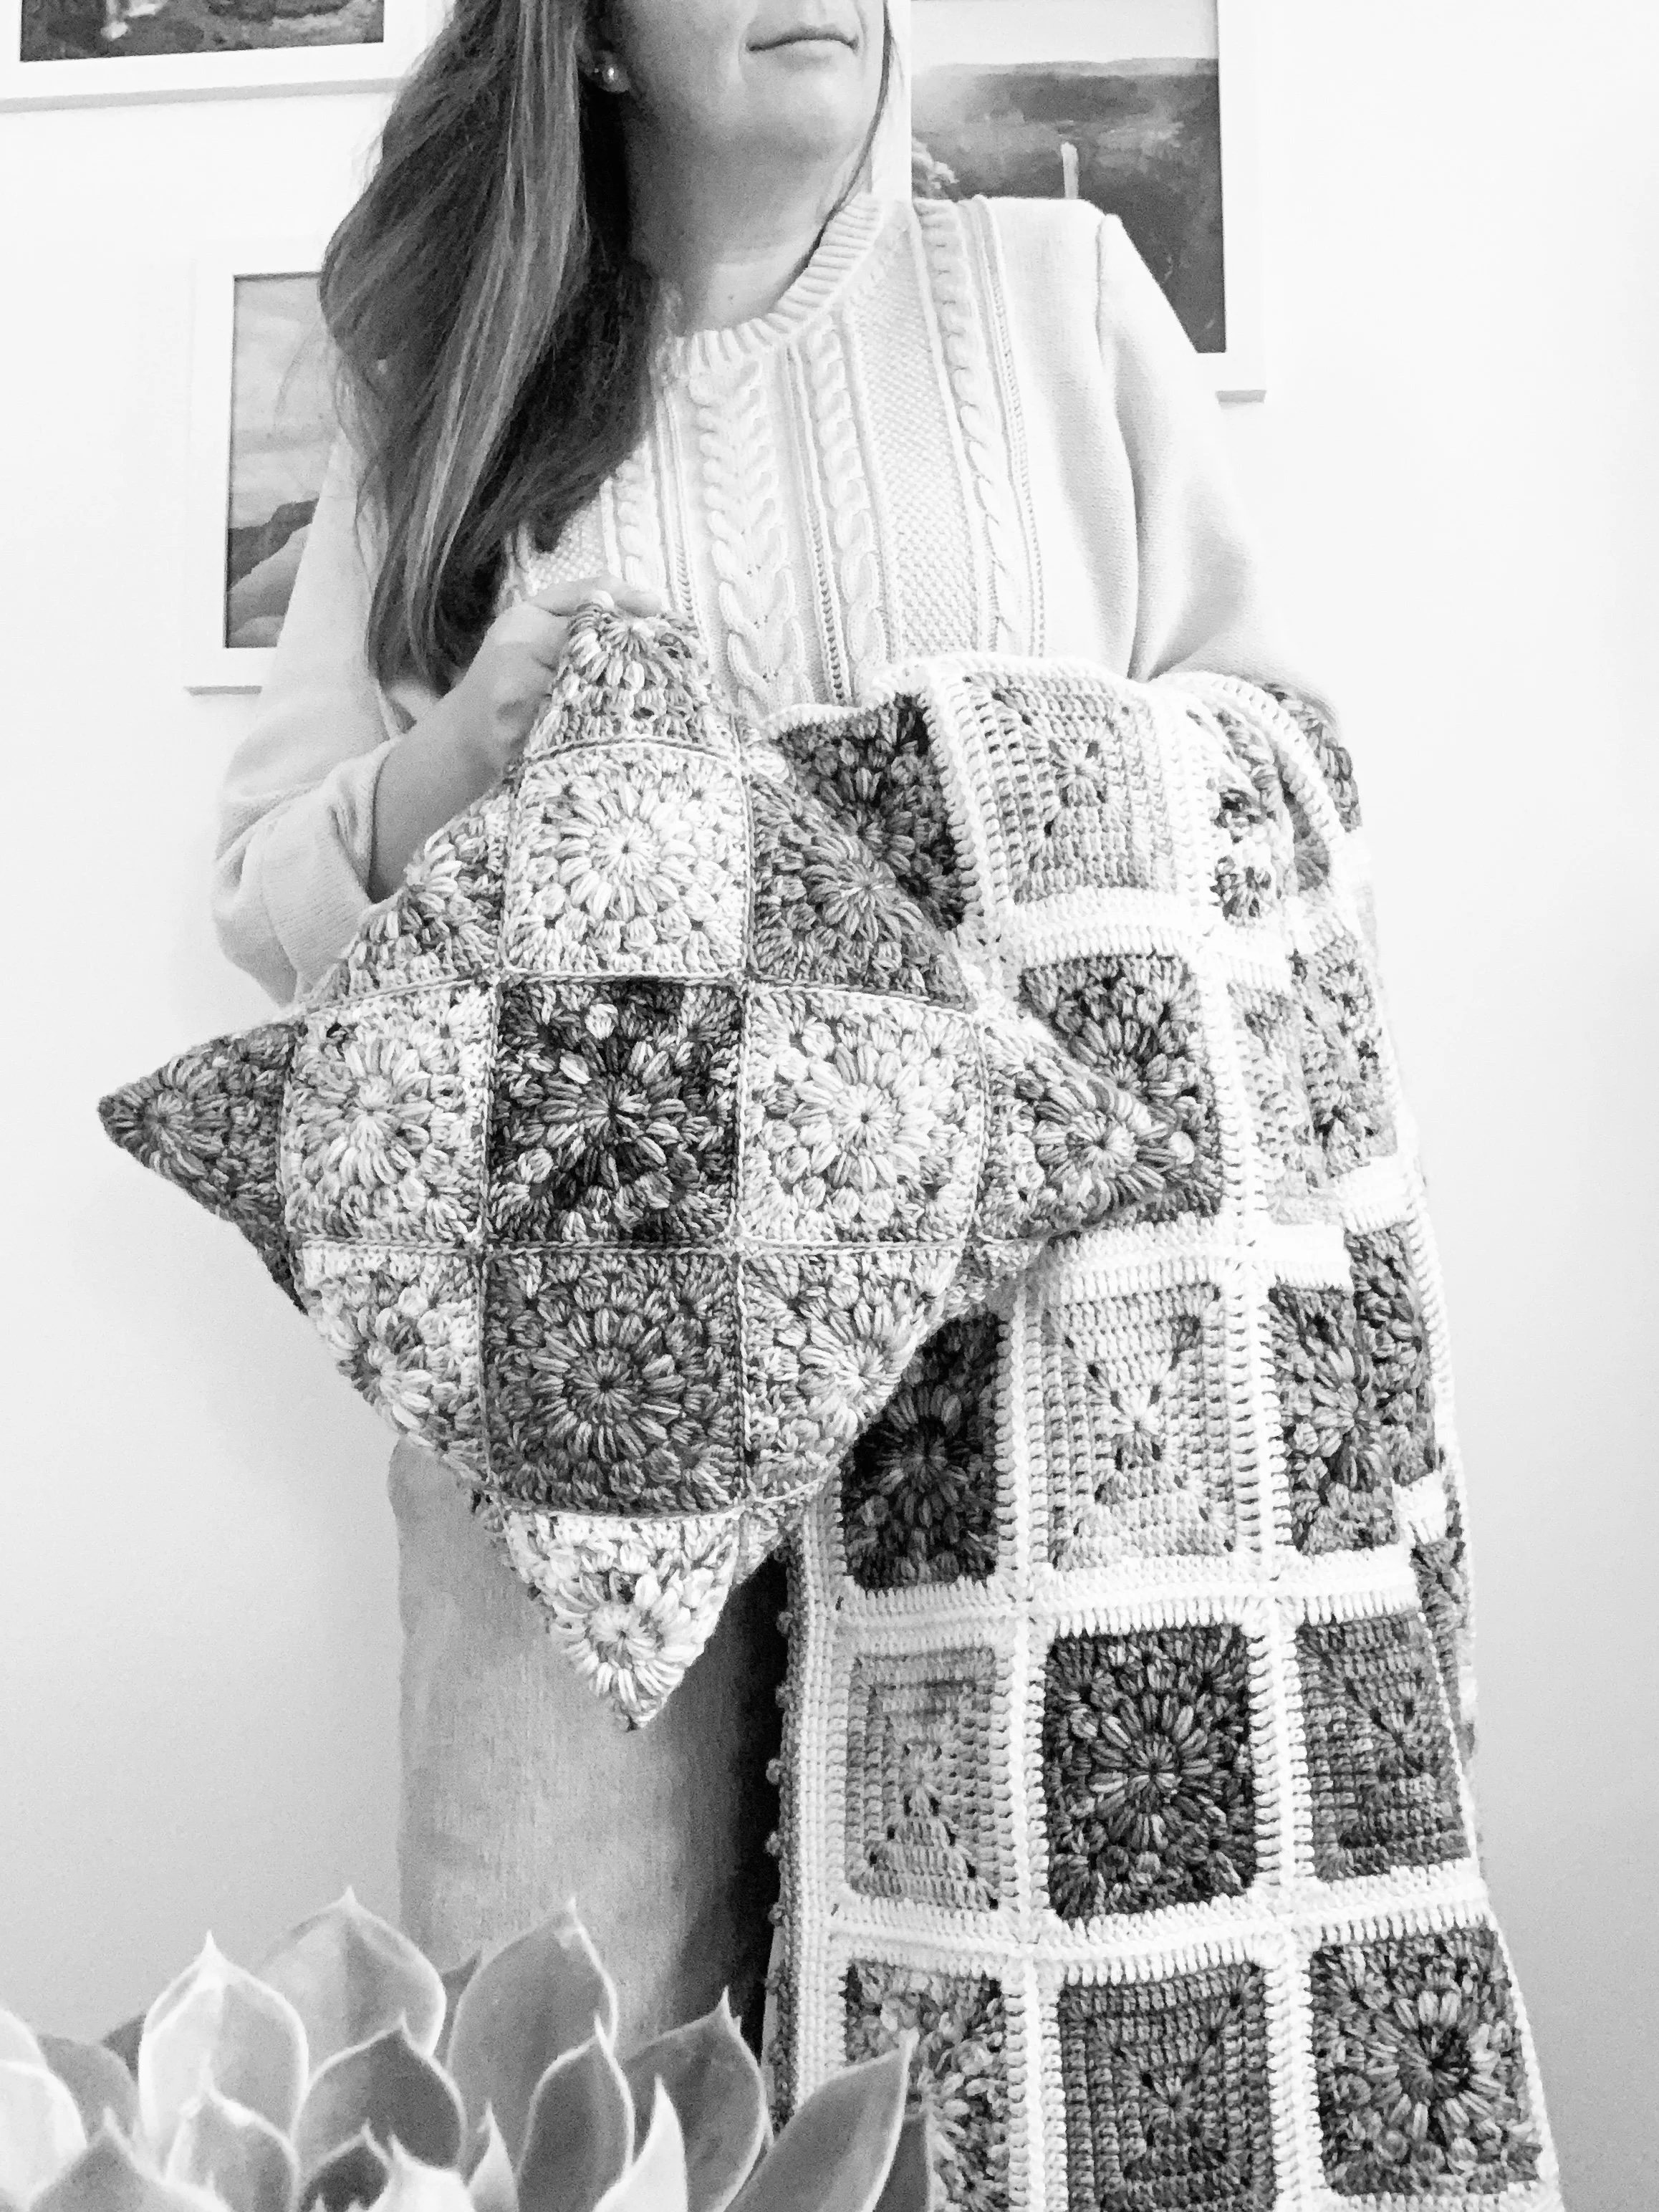
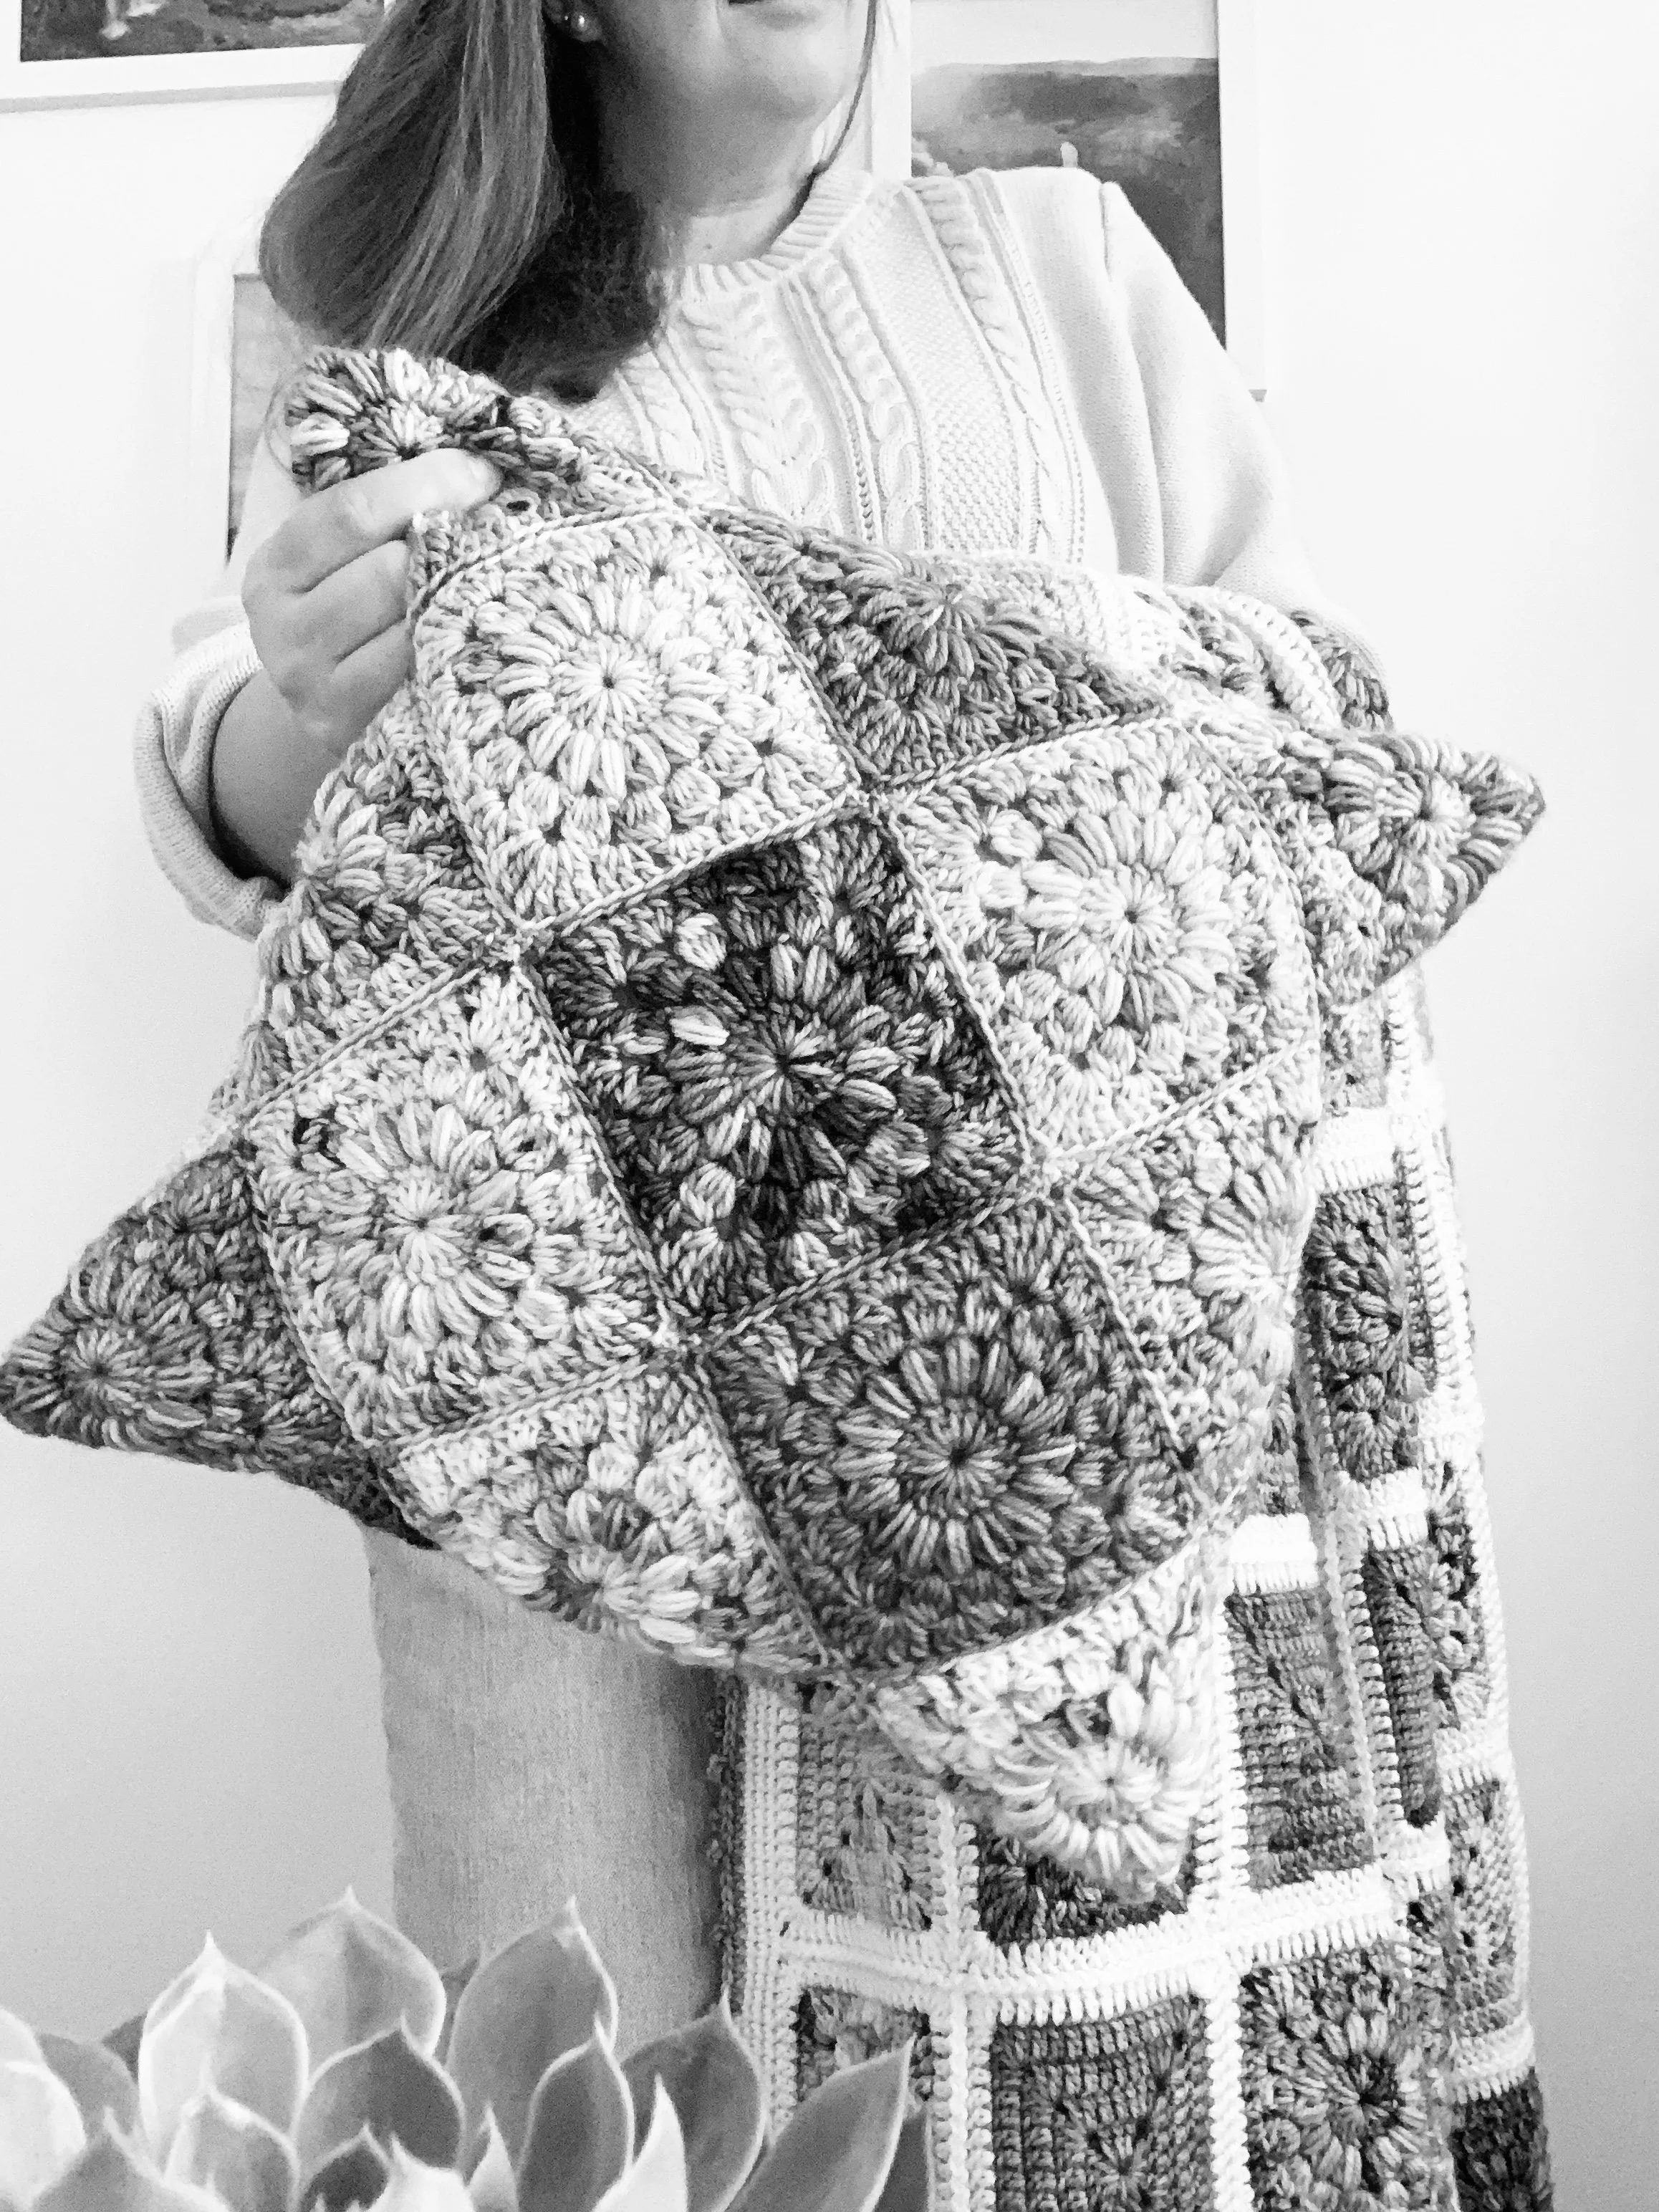

SURPRISE Scrappy Basic Sunburst Pillow Pattern
Notions
US 4.5 mm crochet hook (size 7).
Needle for weaving in ends.
Scissors.
Yarn
**Leftover SCRAPS from**
Hue Loco Succulents CAL Yarn Subscription, DK weight 100% SW Merino, (230yds/100g):
January: Propagation (30yds/13g)
February: Echevaria (81yds/35g)
March: Terrarium (21yds/9g)
April: Silver Jade (76yds/33g)
May: Air Plant (21yds/9g)
June: Rosette (78yds/34g)
July: Didn’t use.
August: Himalayan Skies (78yds/34g)
September: String of Pearls (21yds/9g)
October: Hoya (78yds/34g)
November: Butterfly Agave (21yds/9g)
December: Didn’t use.
Joining Yarn: Snowshoe (21yds/9g)
Gauge
4 rnd sunburst square= 3.5” (unblocked)
Finished Size
14”x 14” pillow
Glossary (using US Crochet Terminology)
st(s)- stitch(es)
ch- chain
ch-sp- chain space
sl st- slip stitch
rnd- round
YO- yarn over
SC- single crochet
HDC- half double crochet
DC- double crochet
tr- treble crochet
cl st(s)- cluster stitch(es)
4 DC cl– 4 double crochet cluster stitch
puff- puff stitch
BLO- back loop only
RS- right side
WS- wrong side
How to puff stitch: YO and insert hook into st, YO and pull up a loop (pull up to about the height of a DC). Repeat this 2 more times. There should be 7 loops on the hook. YO and pull through all 7 loops.
How to 4 DC cl: YO and insert hook into sp, YO and pull up a loop, YO and pull through 2. Repeat 3 more times. There should be 5 loops on the hook. YO and pull through all 5 loops.
Pattern Notes
In some cases, the video tutorials have been used for other patterns. Please follow the yarn recommendations, hook size and stitch counts in the written pattern- the videos are only meant as visual guides.
Gauge will affect yarn quantities, please adjust hook size to meet gauge.
Ch 2 counts as DC throughout.
Ch 3 counts as tr throughout.
I wanted to use up as many of the scraps as possible, while still staying a safe quantity away from running out. If you don’t have enough yarn leftover, there are other 14” pillow patterns you can try! I recommend: Wildflower Hygge Burst Pillow Pattern or the Solid Scrappy Pillow Pattern.
I used the leftover yarn from the solid squares to make 4 sunbursts each. Then I made 1 sunburst from 5 of the other colourways. I used January (Propagation) to seam the pillow shut at the back and Snowshoe to slip stitch all the squares together.
Don’t forget to share your makes on Instagram and Facebook! I always love seeing what you have all worked up. Tag me on Instagram @nautikrallcrochet or Facebook @nautikrall_crochet, or use the hashtag: #basicsunburstpillow
Schematic
*Squares coordinate with the “Schedule and Granny Square Layout” table below. Please use these tables/schematics for final quantities and placement of squares.*
Pattern Sunburst Granny Square:
**Please use the “Sunburst Granny Square Pattern” and tutorial from the Blanket Pattern above.
Assembling Pillow Panel
Arrange squares in a 5x5 layout matching the schematic above.
Once squares are placed in preferred arrangement; follow along with the video tutorial below to sl st the squares together using leftover yarn in colourway “Snowshoe”.
**Please see video tutorial below for how to join squares with slip stitches in BLO to create pillow panel/cover:
Assembling Finished Pillow Cover
Final pillow panel should measure approximately 17-18”.
Place pillow cover down with WS up.
Fold corners of pillow cover into the centre; seam together using January colourway (Propagation) and SC into the BLO.
On the final seam, remember to leave enough room to stuff your pillow into the cover before seaming all the way shut.
Fasten off, weave in all ends.
**Please see the video tutorial for how to seam/assemble pillow panel:
~The End~
The pattern, the photographs and video tutorials in this document are the property of NautiKrall Crochet. You may sell items you make from this pattern; but may not sell, reproduce, or distribute this pattern, in whole or in part, as your own.
Copyright © 2024 NautiKrall Crochet – All right reserved.


